


Unleash that Reticulated Film Python Posted On 16th August 2016 To Magazine, Technique & Alternate

Man of science
I love alternative photographic techniques like dry plates and brushed on emulsions. I am a darkroom fanatic – always exploring new ways to mash up digital with traditional analog techniques. I love all kinds of print processes – cyanotypes, salts, van dykes to name a few. I shoot all formats right from 35mm half frames up to 8×10 large format.
I am also an avid camera collector but prefer to be a user rather than an admirer of my cameras. I currently use a Nikon F3, Leica M-A, Hasselblad 503cw, a Linhof Master Technica 4×5 and a Tachihara 8×10 depending on the format I am shooting.
I am a man of science, believing a strong theoretical knowledge base always helps the artistic side reach full potential. Many of my blogs explore the technical aspects of analog photography to help explain the so called emulsive magic happening under the hood
re·tic·u·lat·ed /ri’tikyə, lãttid/ adjective – constructed, arranged, or marked like a net or network.

In the world of emulsions and film, reticulation is simply the science of distorting the emulsion layer to create an overall pattern in the film. The single most important ingredient to produce reticulation is extreme changes in temperatures of developing solutions.
Typically reticulation is experienced by most photographers as a serendipitous event, not quite sure why they experienced it. Usually, an untrained eye will assume reticulations as something bad. And in many cases, they may not be desired. Hence understanding the process can help you either prevent and in many cases replicate this event.
Background
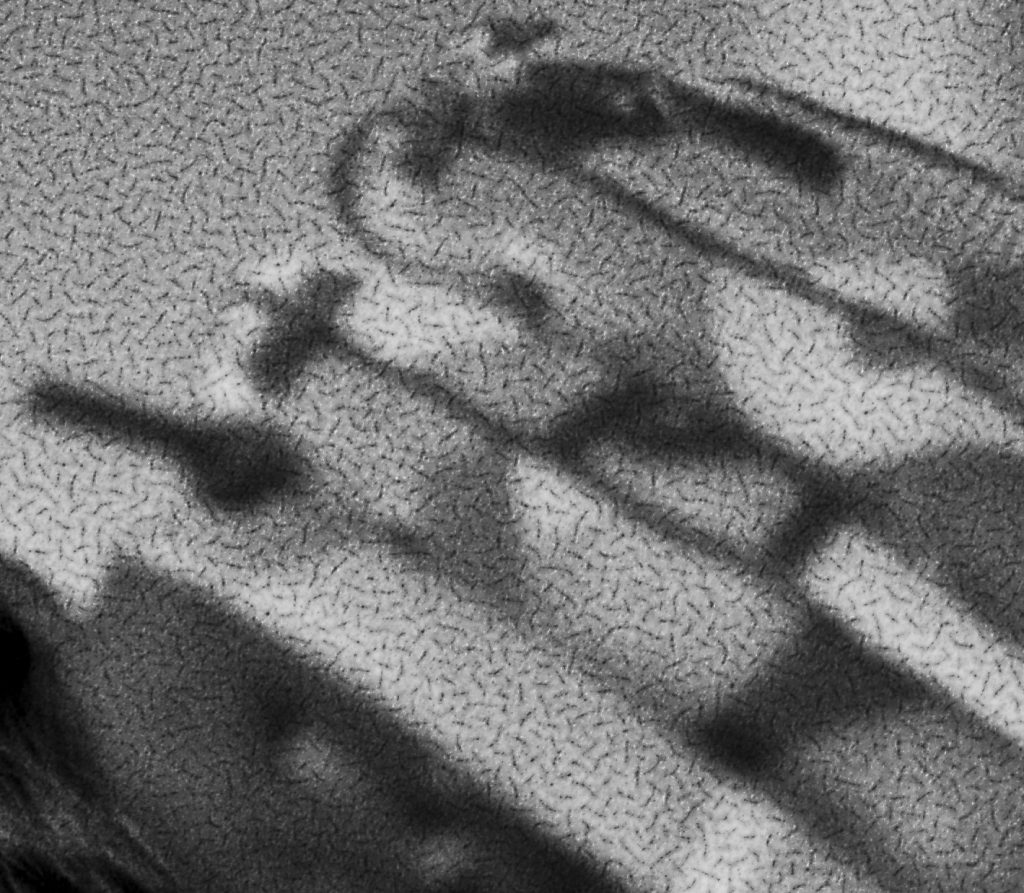
Reticulation as I mentioned above, is a distortion of the emulsion layer – primarily caused by extreme change in temperature during processing, which causes silver grains in the emulsion to “clump together” into patterns. These resulting patterns are called reticulations.
Key to remember is that reticulation ruins the film for normal photographic purposes but can add an artistic texture to some photographs. It has effectively been used to enhance the mood of a scene.
Current State of Films
Because reticulation is mostly undesirable, film manufacturers have worked to improve films that resist reticulation. Back in the days, reticulation happened frequently if the temperature of processing solution varied slightly. Today’s emulsions are so good in this respect that you have to subject them to extreme temperature variations and hope to achieve reticulation.
If you want to give this a go, I would recommend trying older emulsions – the older the better.
Reticulating Black and White Film
A little background of the film’s structure and understanding what happens during processing can help you get repeatable results with reticulation.
A BW film is essentially composed of grains of silver suspended in a gelatinous emulsion and spread on a clear base. When wet, the film emulsion is very soft. A hardener in the fixer usually hardens the emulsion to make it less fragile.
Extreme changes in temperature when the film is in its softest state causes uneven swelling/shrinking of the gelatin and produces a pattern in the emulsion – reticulation.
Sometimes you may want to even freeze the negative after reticulating to exaggerate the patterns or create new unique ones.
The Algorithm
Here is a pseudocode for a typical reticulation. Your preferred chemicals need to be experimented with to come to a consistent outcome.
1) Use your preferred developer to develop film according to instructions
2) If you choose to, use an acidic stop bath at high temperature (approx. 140-150 deg F) for 1 min.
3) Immerse the negative in a cold water bath (less than 40 deg F) for 1 min.
4) Immerse the negative in hot water (180-190 deg F) for 1 min.
5) Fix with your fixer of choice.
6) Wash as usual
7) Experiment with either freezing the film for extra effect while semi-dry or lay on a cloth and use a hair dryer to blow hot air across the surface of the negative.
Note that I have had success even when using dev – water stop – fix – wash cycle omitting the stop bath step above. Remember to do the cold/hot water bath.
And that’s it! You have now a good enough starting point to experiment with reticulating your negatives.
Always handle film carefully during all steps in the reticulation process – the film emulsion remains quite soft until completely dry.
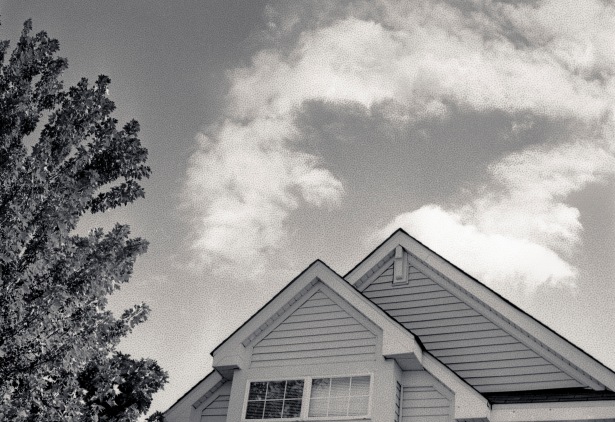
Subjects
I prefer to keep my subjects as simple as possible. Try and select subjects that will be improved by the reticulated pattern. If you have an intricate subject, you run the risk of making the end result busy and jumbled when reticulated.

About The Author
Ribnar Mazumdar
Hi my name is Ribnar Mazumdar and I am a hybrid photographer.
Hybrid in the sense, I almost always shoot film but also enjoy my only digital camera – the Leica M Monochrom 246 and a digital workflow that includes Lightroom and Photoshop.
I blog about my techniques and photography at http://www.ribnar.com/ and am active on twitter – @ribnar