


Shooting Sprockets Posted On 8th December 2022 To Magazine, Technique & Stories

Shooting 35mm film Sprockets with Kentmere 400 and a medium format TLR
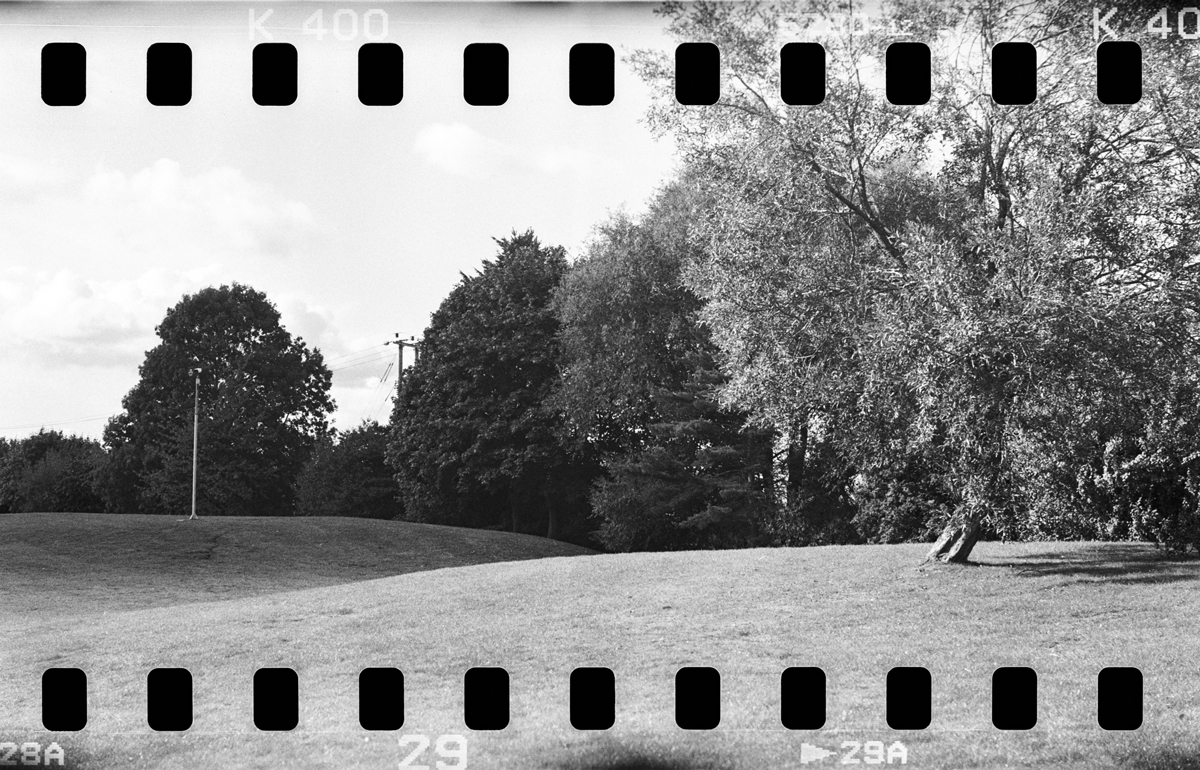
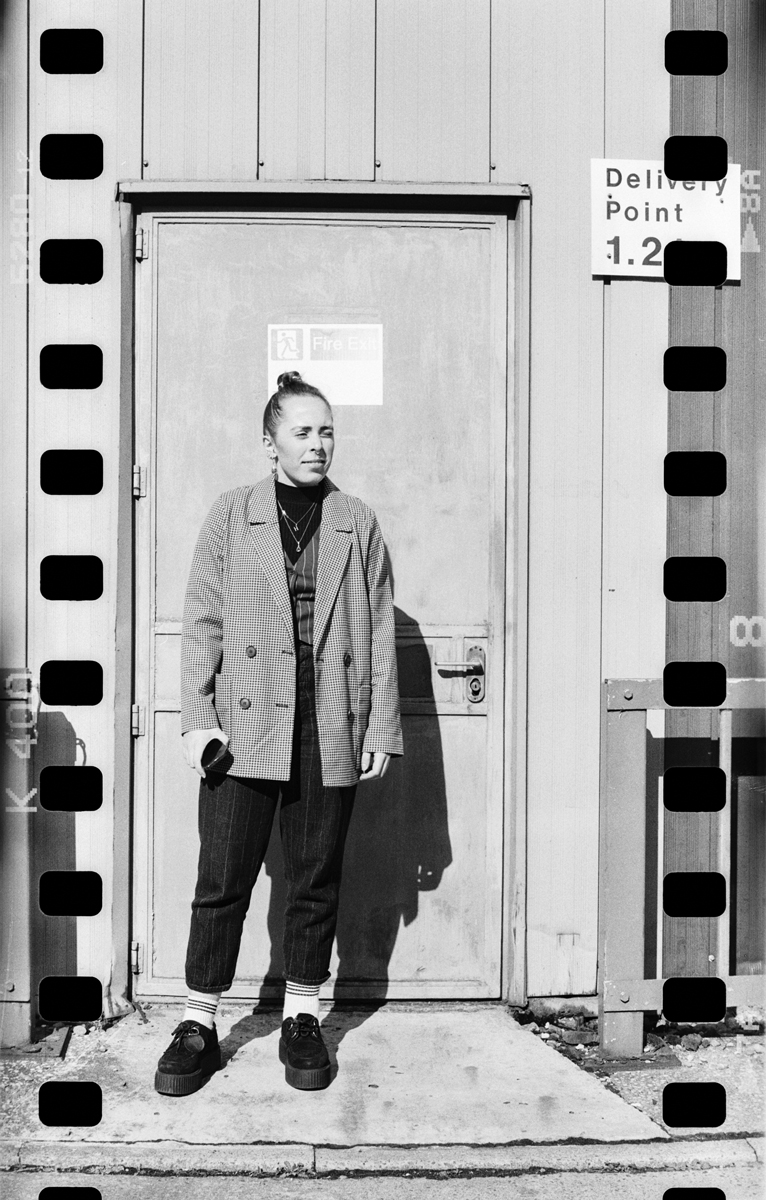
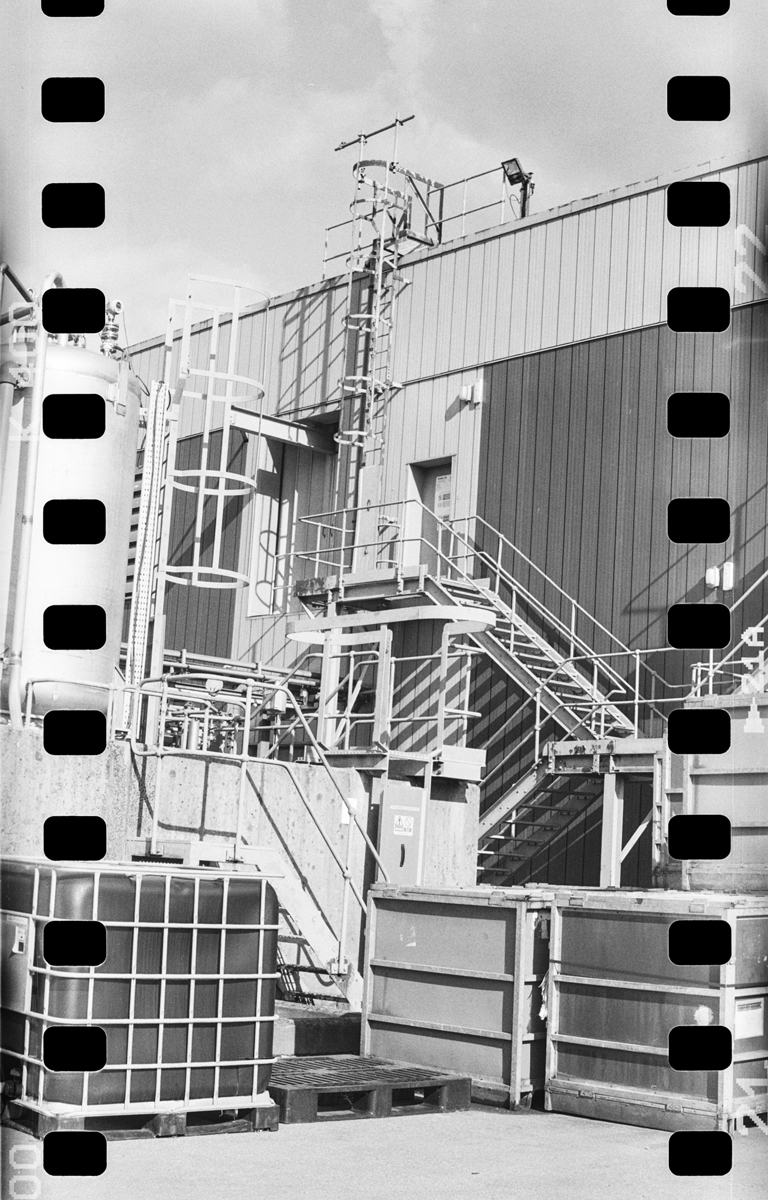
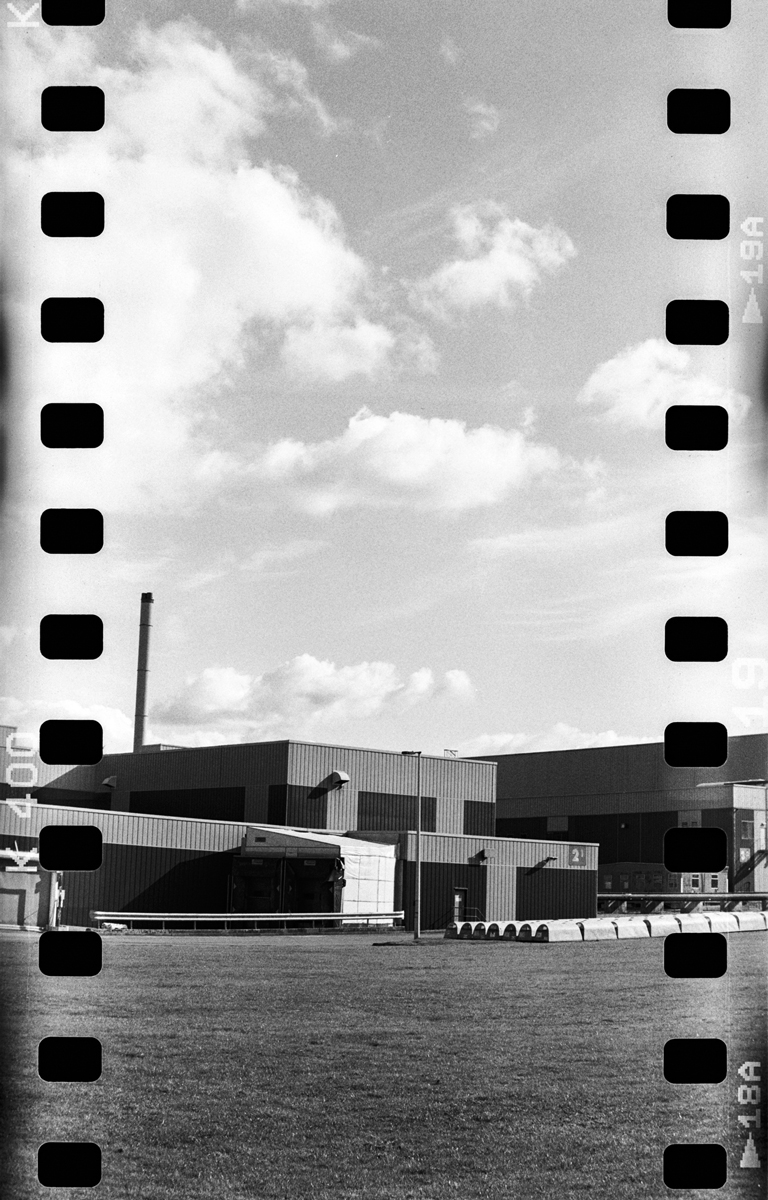
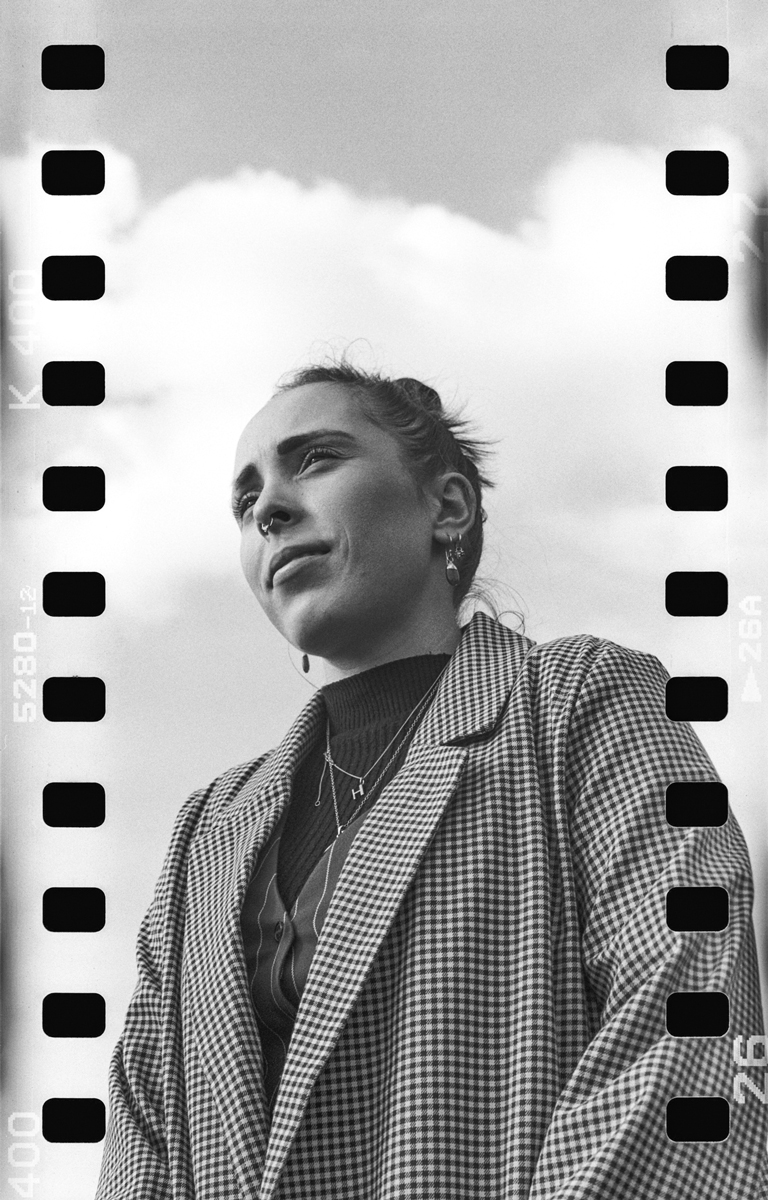
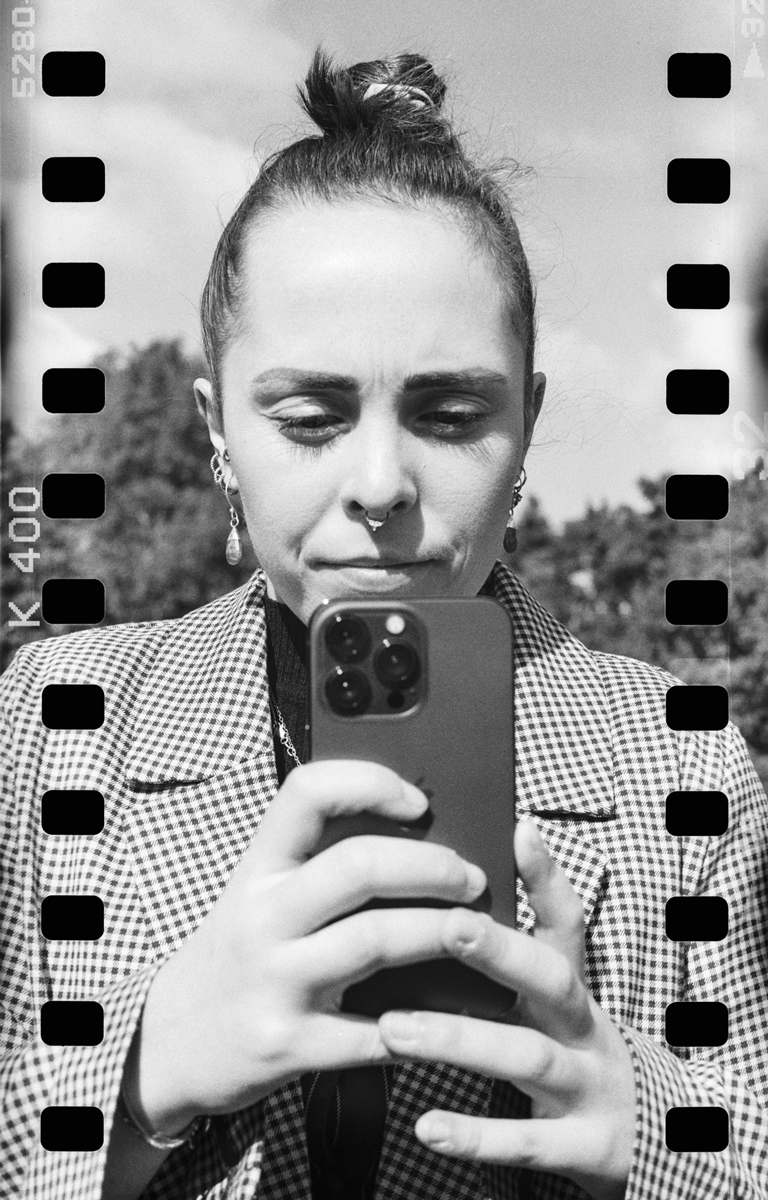
Including sprockets in scans is nothing new but has increased in popularity recently. While the inclusion of sprockets showing the film name looks great, as the photographic emulsion covers the full 35mm width of the film in your cassette, it is actually possible to expose your image beyond the standard 24x36mm frame and cover the entire sprocket area with your image.
I thought I’d give this a try with my TLR, so read on below to find out how I got on and what I learned.
What Cameras to Use
35mm film cameras are designed to expose a 24x36mm sized frame of film and you typically get either 24 or 36 of these on each roll. Unfortunately, this also means it is not possible to expose the sprockets of the film using a standard 35mm camera. (Although, cameras like Lomo’s Sprocket Rocket 35mm which creates 3:1 ratio panoramic images that include the sprockets are available).
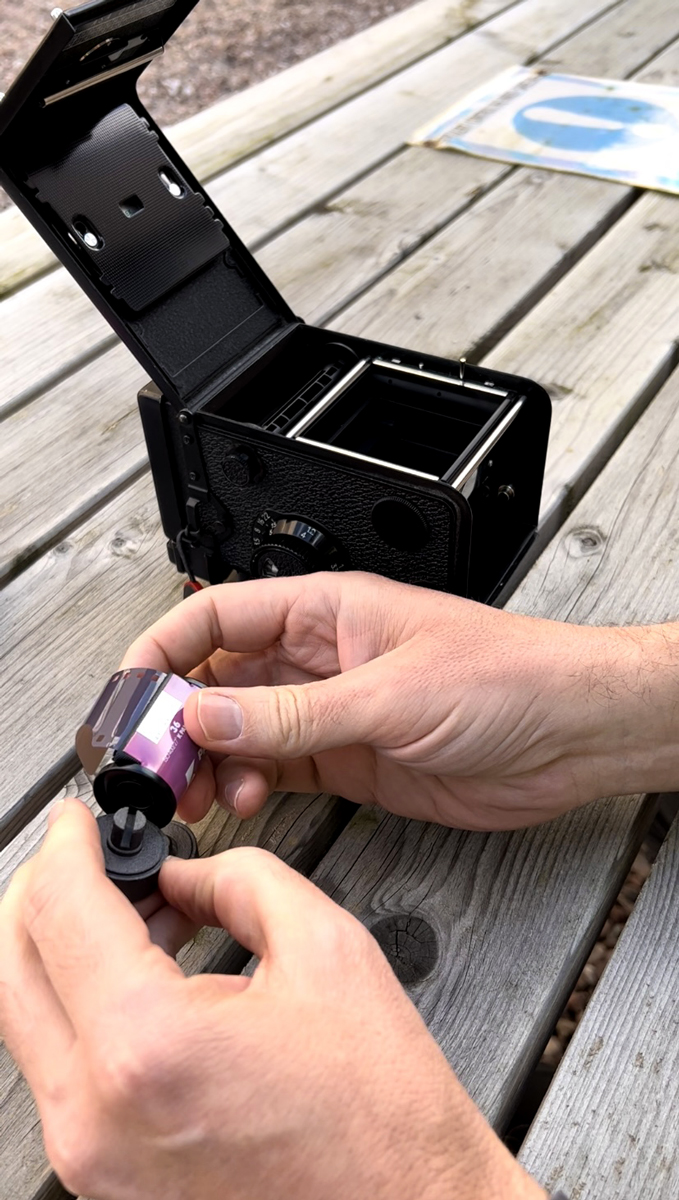
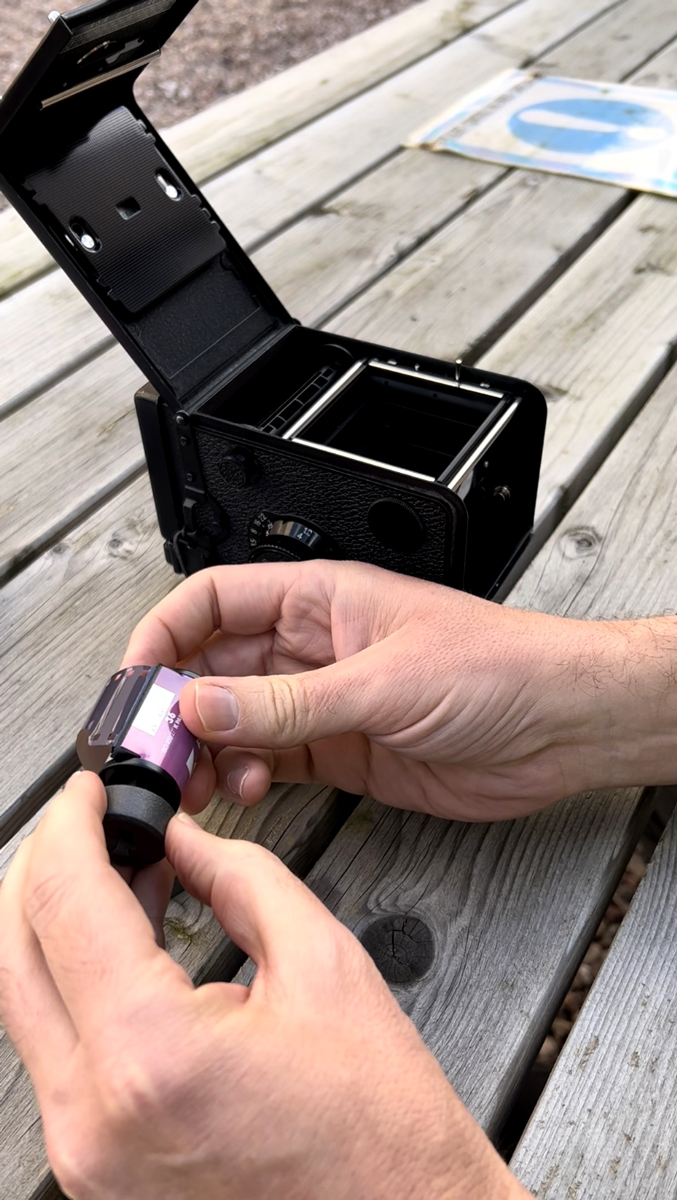
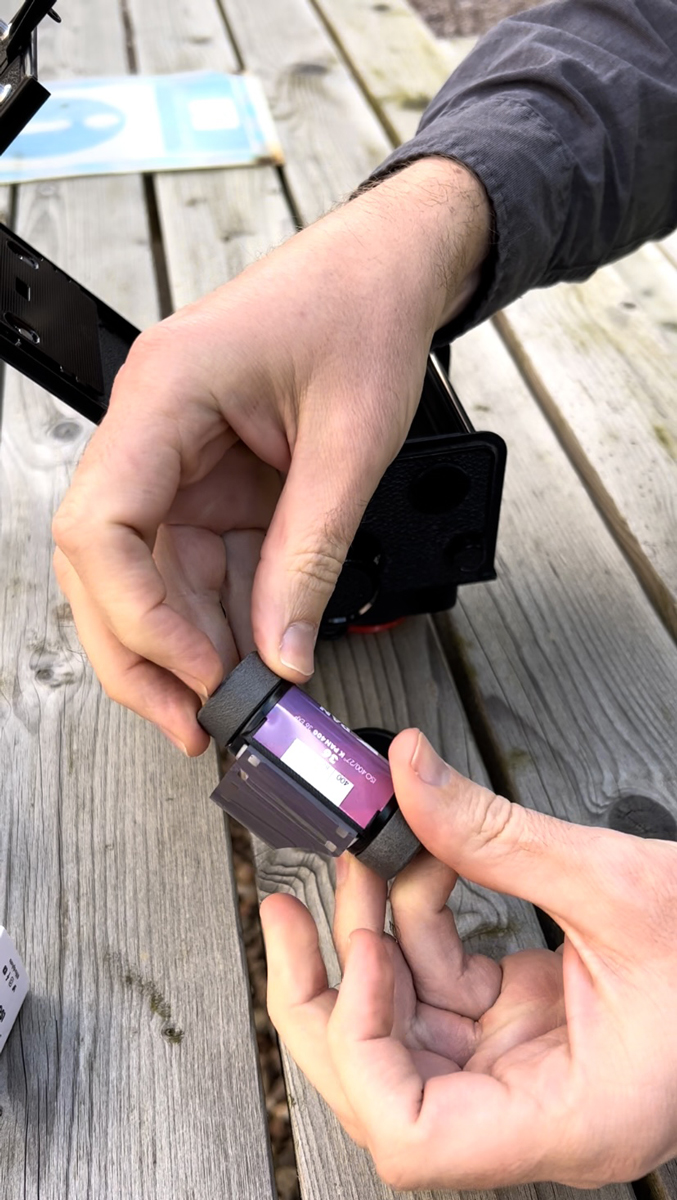
However, for photographers who also own a medium format (120) film camera there is a simple and cost-effective solution which involves using 3D printed plastic 35mm to 120 adaptors. I picked up mine from Analogue Wonderland in the UK.
Form and Functionality
It is worth noting that the form and functionality of medium format cameras does differ. As a result how these adaptors work may vary depending on the type of medium format camera you are using. For example, while medium format cameras all take the same 120 format film, how many images and what size they produce will depend on the camera. Additionally, cameras with interchangeable backs, red windows for frame numbers, nobs for film advancing, or even the option to switch between 120 and 220, may all need different considerations.
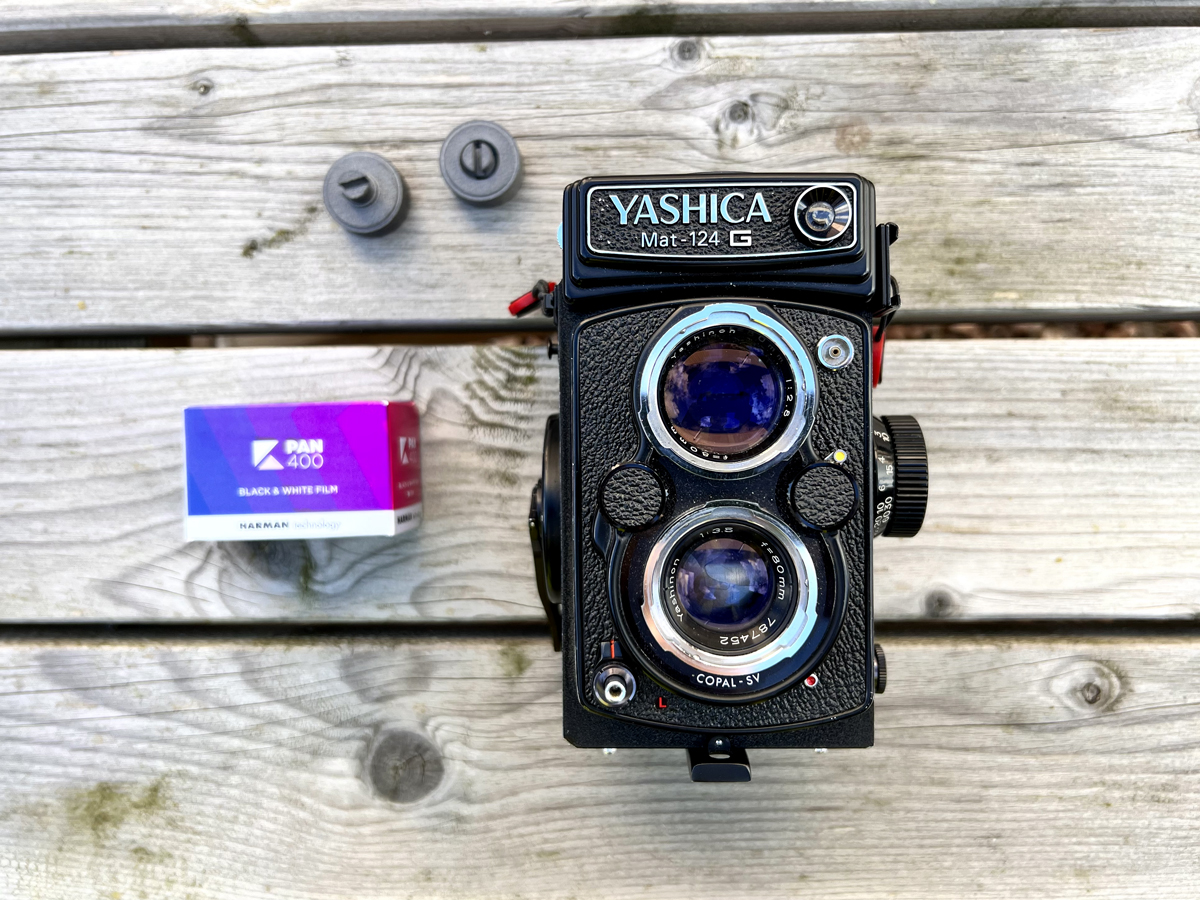
Yashica Mat 124G
I regularly use my Yashica Mat 124G. This wonderful and thankfully still relatively affordable TLR (Twin Lens Reflex) medium format camera takes 12 x 6x6 images on 120 film. The focus of this article will therefore be specific to this camera although will most likely apply to Rolleiflexs, Rolleicords and other similar style TLR models.
Using the adaptors
I couldn’t find much information online about how or even if these adaptors work in TLRs. My first task was therefore to figure out if it was possible and what I needed to consider when shooting.
To get started I took an old, expired roll of film, attached the adaptors and ran it though the camera. I was particularly looking at frame advance, number of shots and most importantly, how to retrieve the film once exposed.
The Yashica’s film advance followed the same process as if it was loaded with 120 film in that it only allows you to take 12 shots on a 36 EXP roll. When switching the plate to 220 I only managed to squeeze 13 shots onto my film. I suspect this number could be increased on both formats by attaching a leader to the roll before loading as there is just over 20cm of unexposed film before the first frame appears – there are some good examples of this online.
Shooting with a TLR
Shooting 35mm film in most medium format cameras will give you panoramic images compared to the standard 3:2 ratio of 35mm film. In the case of a 6x6 TLR this would be 60mm wide by 35mm deep.
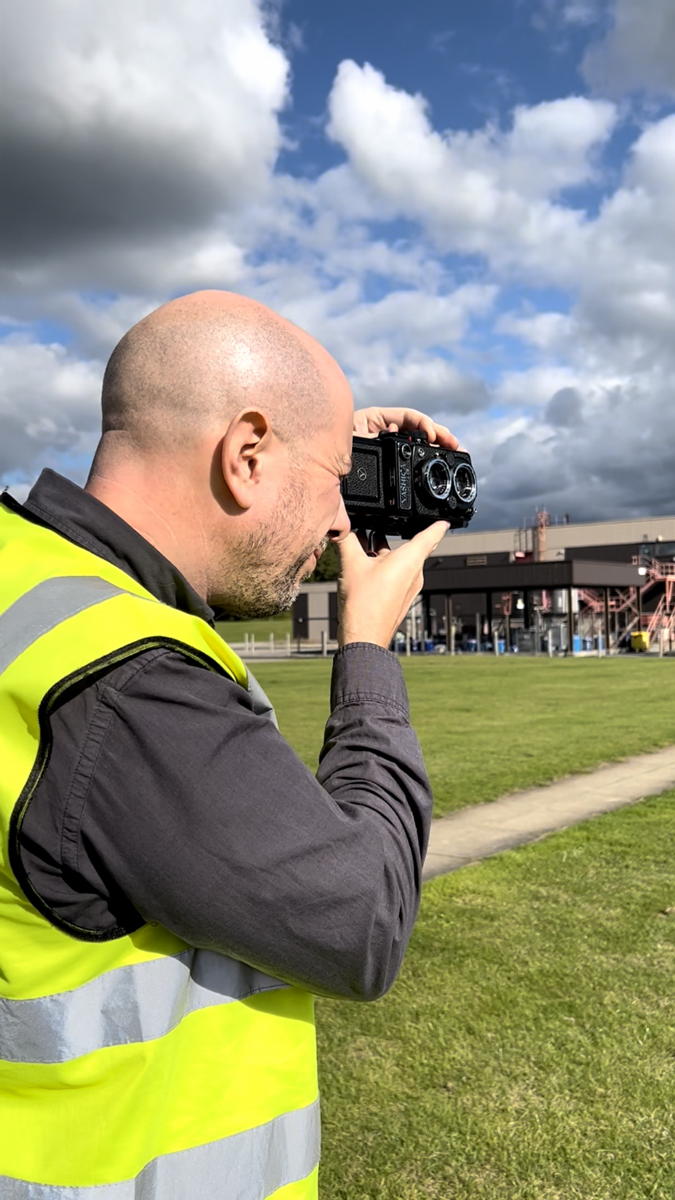
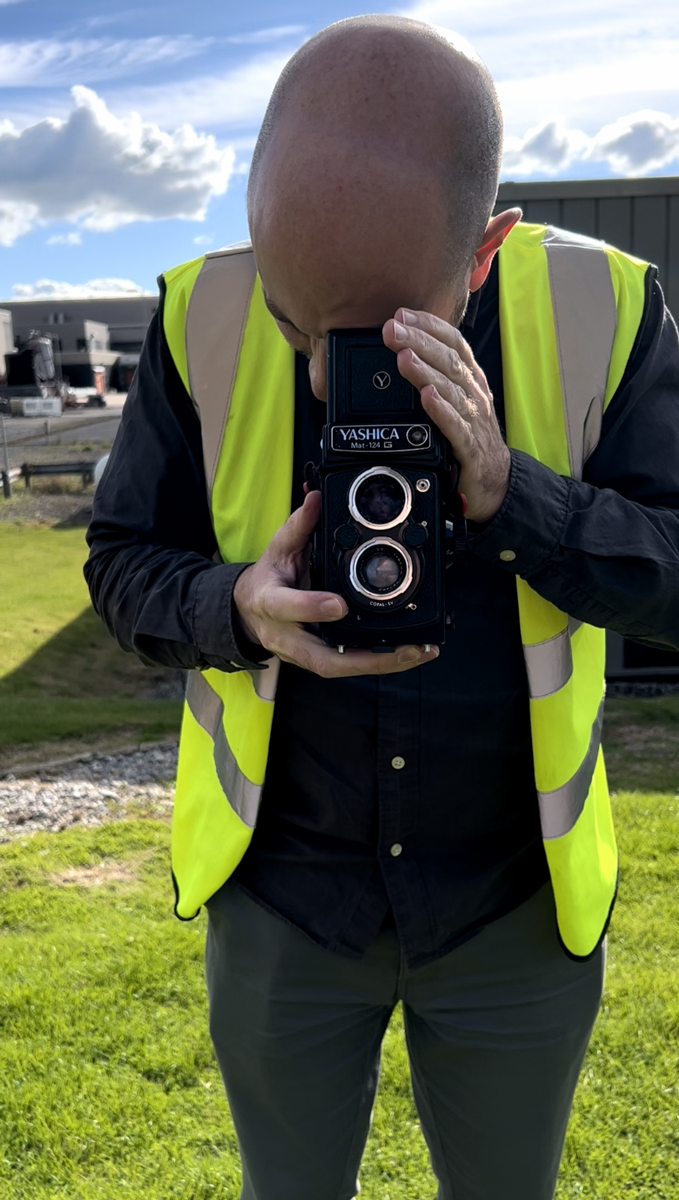
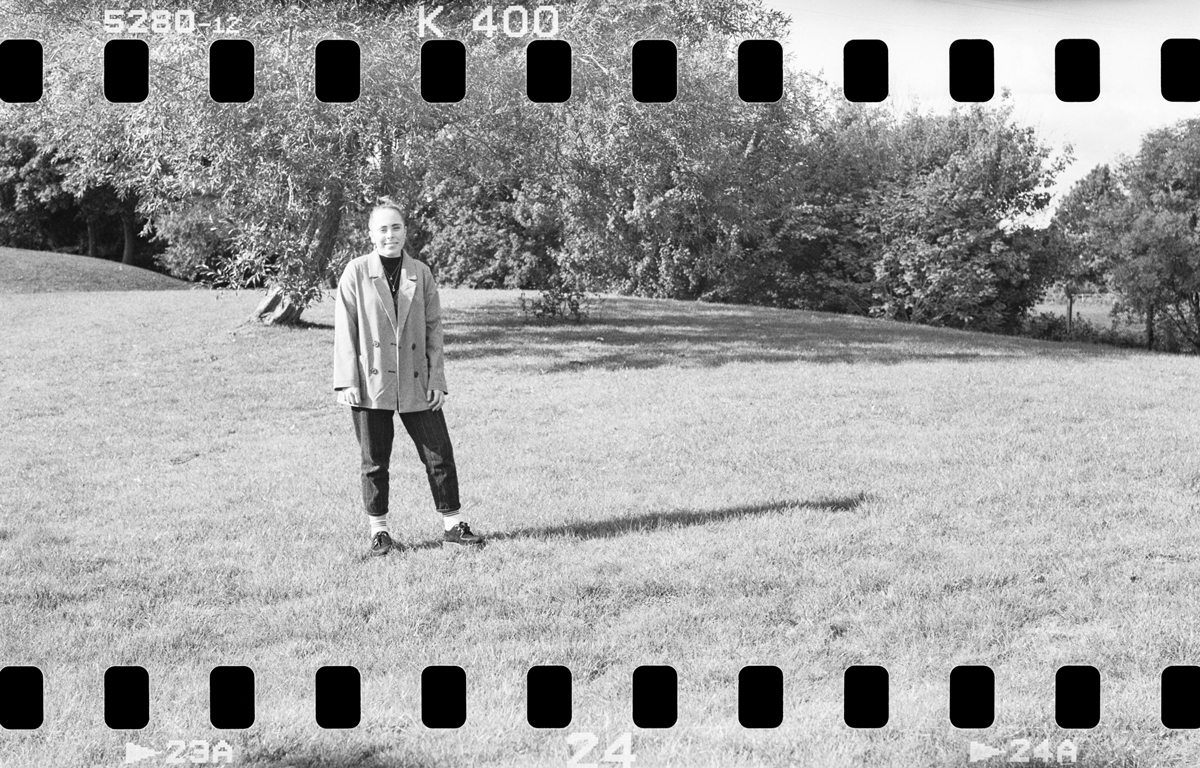
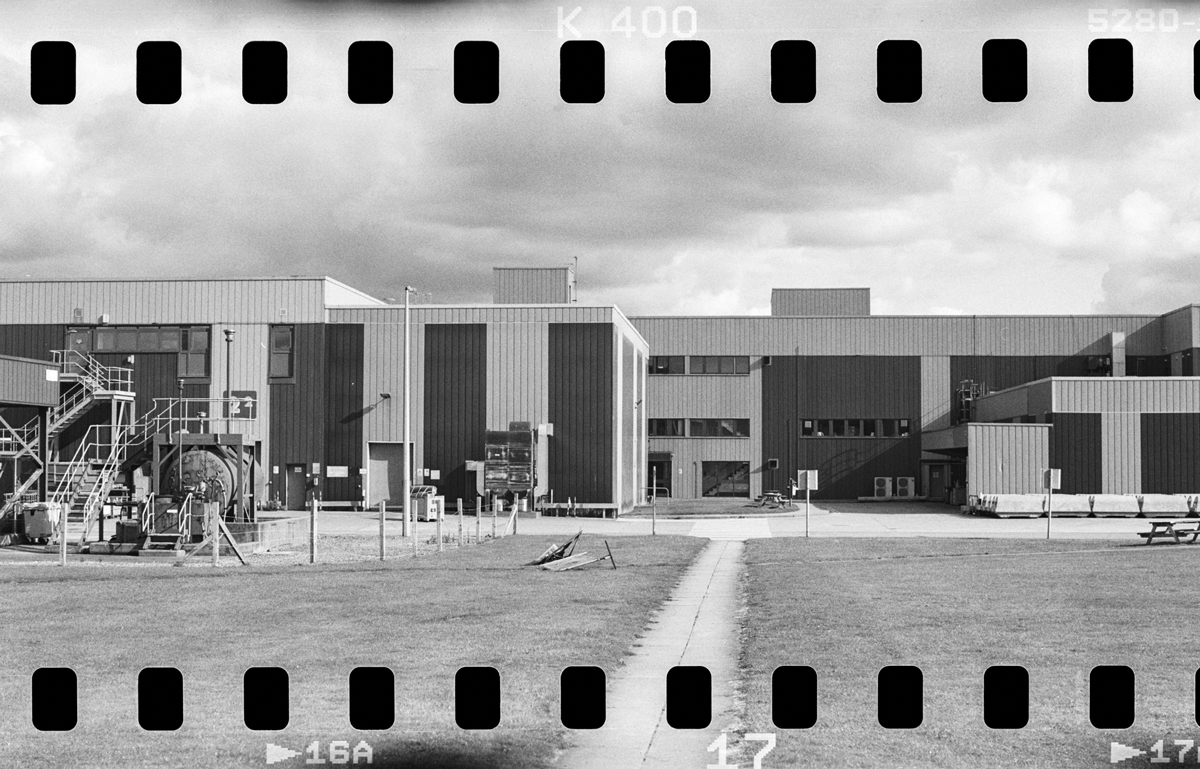
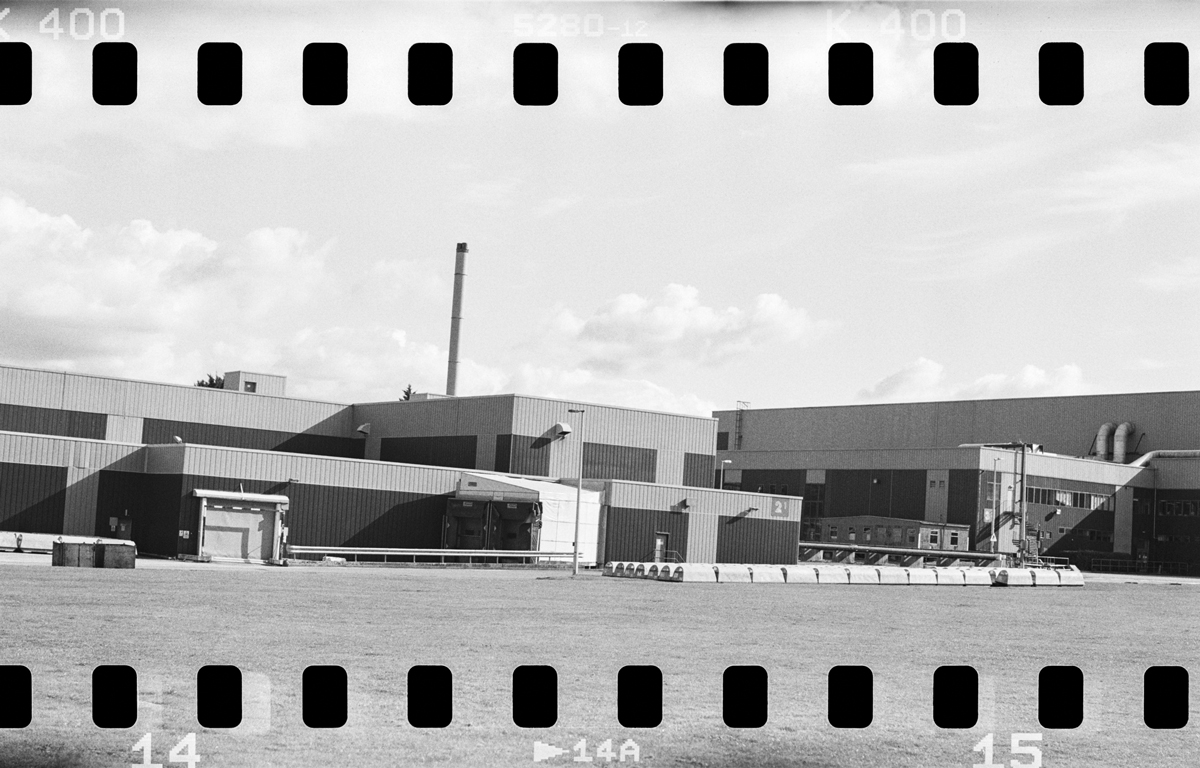
Due to the way a TLR is loaded, the film vertically covers the film plane. This means that holding a TLR camera normally will create images in portrait orientation when using 35mm film. Shooting landscape images with a TLR is definitely more awkward. It may also attract a few funny looks but is certainly possible.
It is worth noting that by including sprockets as a feature in your image it is key to get vertical or horizontal lines in your image level when taking the shot. Rotation or cropping, either in the darkroom or Lightroom, is not possible.
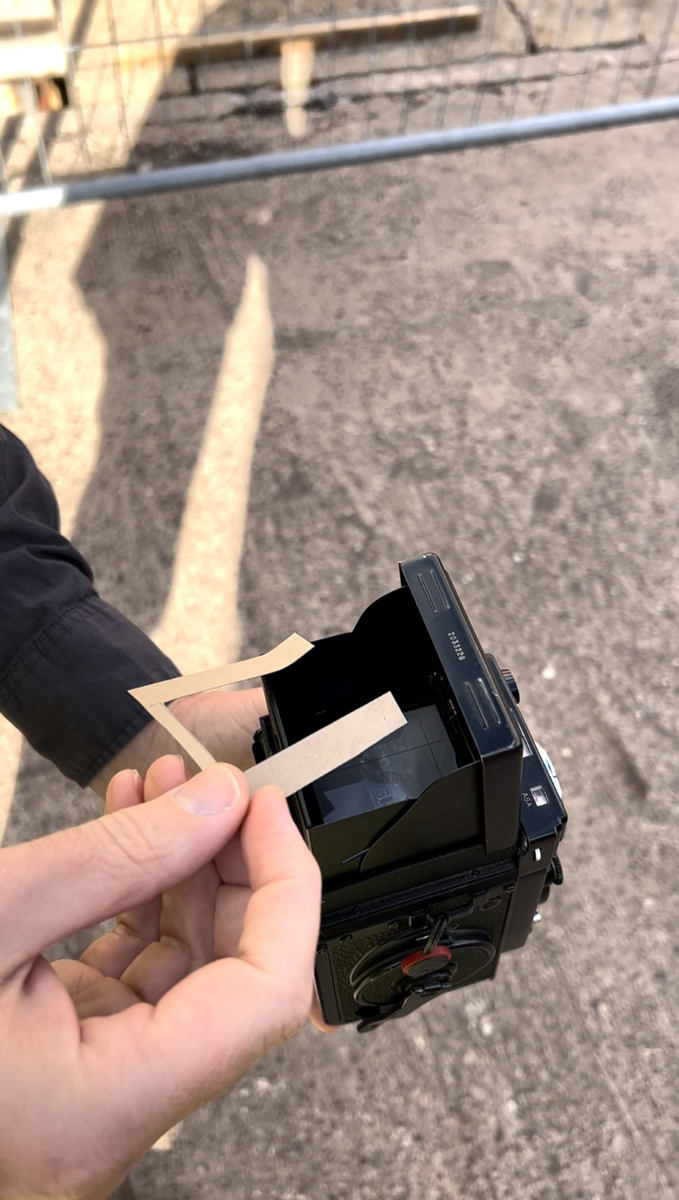
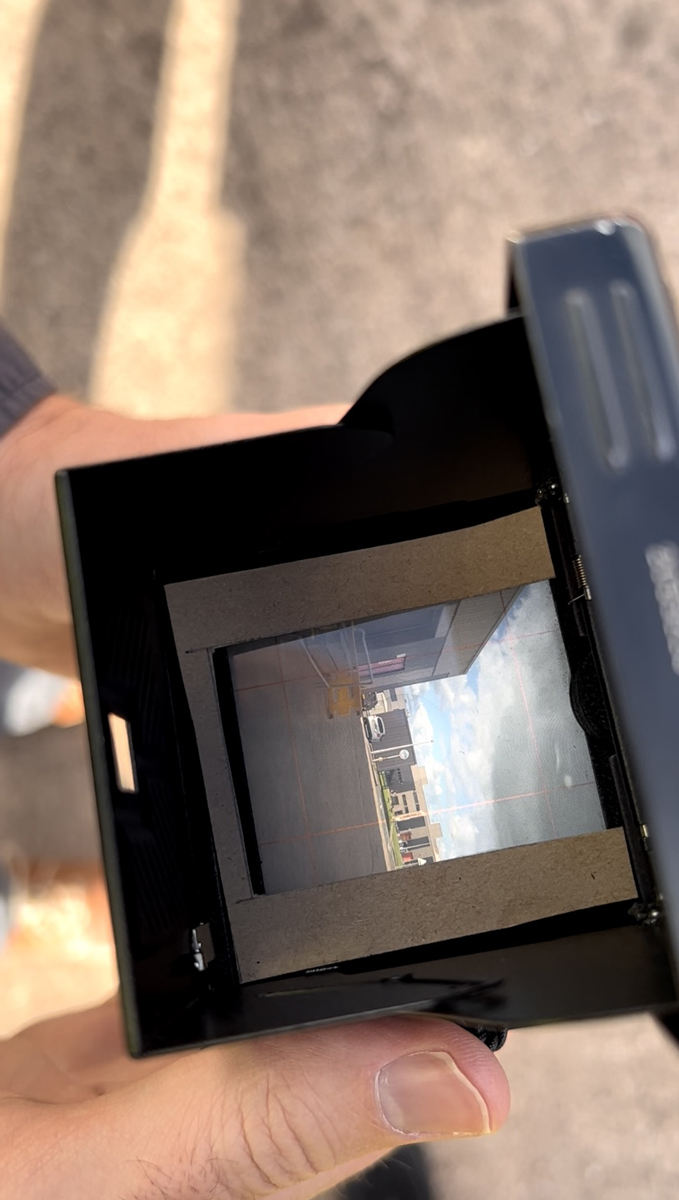
As my viewfinder has a square window, I made a simple mask from card to help me frame my shots.
Unloading the film
Unlike 120 roll film which separates from its original spool once shot, 35mm film remains attached to its cassette. Itis also tightly wound onto the 120 take up spool.
As it's not possible to rewind the film back into the cassette without opening the camera back, you need to have access to a dark bag to remove the film. Place the camera in the bag and disconnect both the adaptor/cassette and the take up spool containing the film. . Remove the adaptors from the cassette and wind the film back into the cassette by twisting the 35mm spool.
Developing
For my first roll of ‘sprocket shooting’ I loaded a roll of 35mm Kentmere 400. I shot this at box speed and developed at home using ILFORD Simplicity chemicals in a Paterson tank.
My 2nd attempt was a roll of ILFORD Delta 400 Professional, again shot at box speed, but this time I sent it to the team at Harmanlab.com where it was developed in ILFORD ILFOTEC DD (the lab equivalent of ILFOTEC DD-X).
The key difference I noted was that the home dev’d Kentmere roll had repeating undeveloped areas of the sprockets (seen as black areas). In conclusion, it is presumably from the grooves of the spiral where it holds the film in place. This wasn’t the case with the lab processed roll as they use a dip and dunk machine.
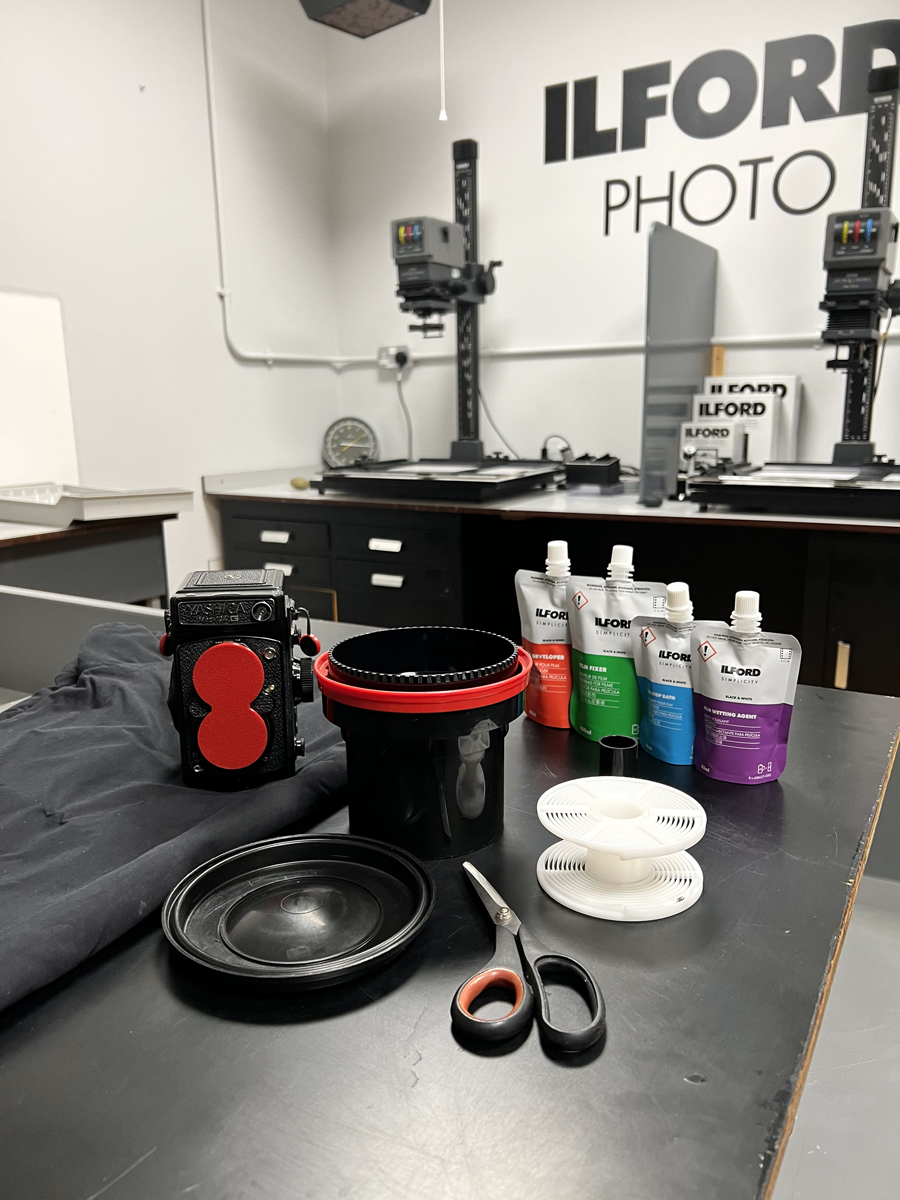
ILFORD Simplicity Kit with Paterson 2 reel tank
Scanning
Not all labs will offer a sprocket scanning service so check with your preferred lab before sending off your film. Those that do may charge extra given it is usually considered a non-standard / manual service.
I scanned both films myself using Harmanlab.com’s Fuji Frontier. As there were no masks for 35mm sprocket scanning, I used the 6x6 mask and later cropped to size in Lightroom. By not completely masking out the light this did have an impact on the density of the scans which was easily rectified in post-production.
It is also possible to scan at home using a flatbed scanner. Or even a digital camera using film holders as many now cater for the inclusion of sprockets.

Lessons learnt
- This was a fun experiment and created some interesting images.
- Always run a test roll of 35mm through your medium format camera first to understand how it works.
- You need a dark bag to remove your film – this may limit how much or where you shoot.
- Watch for vertical / horizonal lines in your scene when shooting as these cannot be straightened in post-production.
- If sending your film to a lab let them know you want the sprockets scanning.
Have you tried shooting sprockets on ILFORD or Kentmere film? We’d love to hear your tips, especially for non TLR cameras, as well as see your images. Don’t forget to follow us on @ilfordphoto and tag us with the name of the film used ie. #ilfordhp5
About The Author
Matt Parry
Aside from my u2018day jobu2019 at Harman I am also an award-winning travel photographer. I have written articles for some of the UKu2019s leading photography publications, presented videos and given talks on both travel and film photography, led photo walks and workshops and had some success in competitions including winning the Travel Category of Outdoor Photographer of the Year 2018/19.
nMy images have featured in the following magazines:
nNational Geographic Traveller UK, Wanderlust, Lonely Planet Traveller, Amateur Photographer, PhotoPlus, Outdoor Photography, JRNY Travel Magazine, Practical Photography, Digital Photo, Professional Photographer, Digital Photographer, FotoVideo (Czech Republic), CanonFoto (Germany), What Digital Camera and more.
nWebsite:u00a0www.mattparryphoto.com
nInstagram:u00a0@mattparryphotographyu00a0(travel photography)
nInstagram:u00a0@mattparryphotofilmu00a0(film account)
nTwitter:u00a0@mattparryphoto
nFacebook:u00a0@mattparryphoto
n