


Split grade printing Posted On 31st March 2017 To Expert Series

Split grade printing
The version of split grade printing described here is that taught to me by the ILFORD head printers, Mike Walden and Terry Offord, and is the simplest, fastest way to make good darkroom prints from pretty much any negative. (The exception is really underexposed negatives to print these you usually only need high contrast).
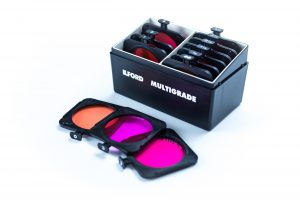
This is a very powerful technique that can be used routinely with variable contrast (VC) papers, such as ILFORD MULTIGRADE. It makes use of the differing performance produced by combining low contrast and high contrast exposures in the same print. For example, you may think that a 10 sec exposure at grade 2.5 would be similar to two exposures of 5 sec, one at grade 0 and one at grade 5. Fortunately for us, the performance curves for VC papers like MULTIGRADE vary across the grades so this simple example doesn’t work. However, it does mean that we have another way of controlling contrast, and especially shadow and highlight detail.
The term split grade printing just means that instead of starting with one exposure you split it into two (or more), to give the basic image, one of these is low contrast and one high. Together they average out to an exposure somewhere in between the two. This gives the printer an infinitely variable contrast range within the limits of grades 0 and 5.
A video of showing this technique can be found here and the full detailed description is below. I’d suggest watching the video through, whilst having the instructions in front of you.
Getting started
- I generally start with a test strip at grade 2.5, right in the middle of the contrast range.
- A test strip is a piece of MULTIGRADE paper 1 to 4 inches wide and a few inches long. It can make them from full sheets of paper with a pair of scissors or a rotary trimmer. It’s best not to use a guillotine in the darkroom!
- To stop it moving, the test strip is stuck down on the easel or enlarger baseboard with a couple of small bits of Blu-Tack.
- The test strip is then exposed in a series of steps. Expose the whole strip, cover part of the strip with a piece of card pushed onto the surface of the paper, do another exposure, cover another part of the strip, and repeat until the complete length of the test strip has been exposed. The card is in contact with the paper, not held above it. This avoids light piping around the sides of the card giving extra exposure to the strip than is expected.
- To give you an idea of exposure times, for enlargers such as the Durst M670 test strip steps of 10 seconds at f8 are usually fine. It’s a good starting point anyway.
- Choose a step on the test strip that has some black areas as well as some detail in the light parts of your image. It’s usually best to go slighter darker if in doubt as to which step to choose.
- Take the time for the selected step and divide by 2, for example if the 30 second step looks about right this will give you 15 seconds. This puts you in roughly the right area for exposure, you can finesse it once you start the split grade printing.
- Do another test strip using this 15 seconds at grade 0 and 15 seconds at grade 5. The whole strip is exposed to these 2 exposures. This is your first split grade print, albeit as a test strip! Note, the 15 seconds is an example, you must use whatever time you obtain from your test strip!
- The order of making the exposures has no effect on the final result,either grade 0 or grade 5 can be first.
- In simple terms, the grade 0 low contrast exposure gives you control of the light grey areas in your print. To add more detail in these ‘highlights’ increase the grade 0 exposure time. To increase the overall print contrast, increase the grade to 0.5, 1, 1.5 or 2. Be careful to avoid having white patches with no detail in your print. If this happens, reduce the contrast again. Obviously, if your print looks dull and without any bright areas (assuming it should have bright areas!) then decrease the exposure times until you see some.
- The high contrast exposure gives you control of the blacks and shadows. Increase this time until you see good blacks or decrease it until you can see some details in the shadows without completely losing your blacks. Be careful not to reduce your blacks to dark grey or your print will look low contrast! I always use grade 5 for the high contrast exposure.

Next steps
For each exposure, you can change the time and grade used giving you an almost infinite variety of possibilities. You can also dodge (selectively reduce the exposure of) parts of the image during each of these 2 basic exposures:
- To increase shadow detail tone separation in these darker areas, dodge them during the low contrast exposure.
- Reducing the grade 5 exposure will increase shadow details.
- To give highlights subtle detail when they appear slightly over printed then dodge these during the low contrast exposure.
- If highlight (lightest) areas appear flat this is because the contrast is too low or the exposure is too long. Increase the grade or reduce the exposure used for the low contrast exposure.
- If it is difficult to put detail into the highlights using burning-in then reduce the grade used towards 0 for the basic low contrast exposure and maybe increase the time as well. Be careful not to reduce the overall impact of the print as you do this.
- If the print needs more contrast increase the grade 5 exposure time, reduce the low contrast time or increase the low contrast grade.
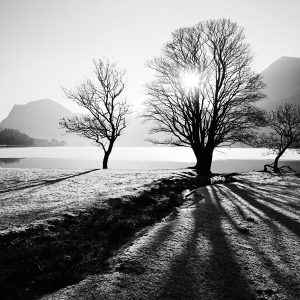
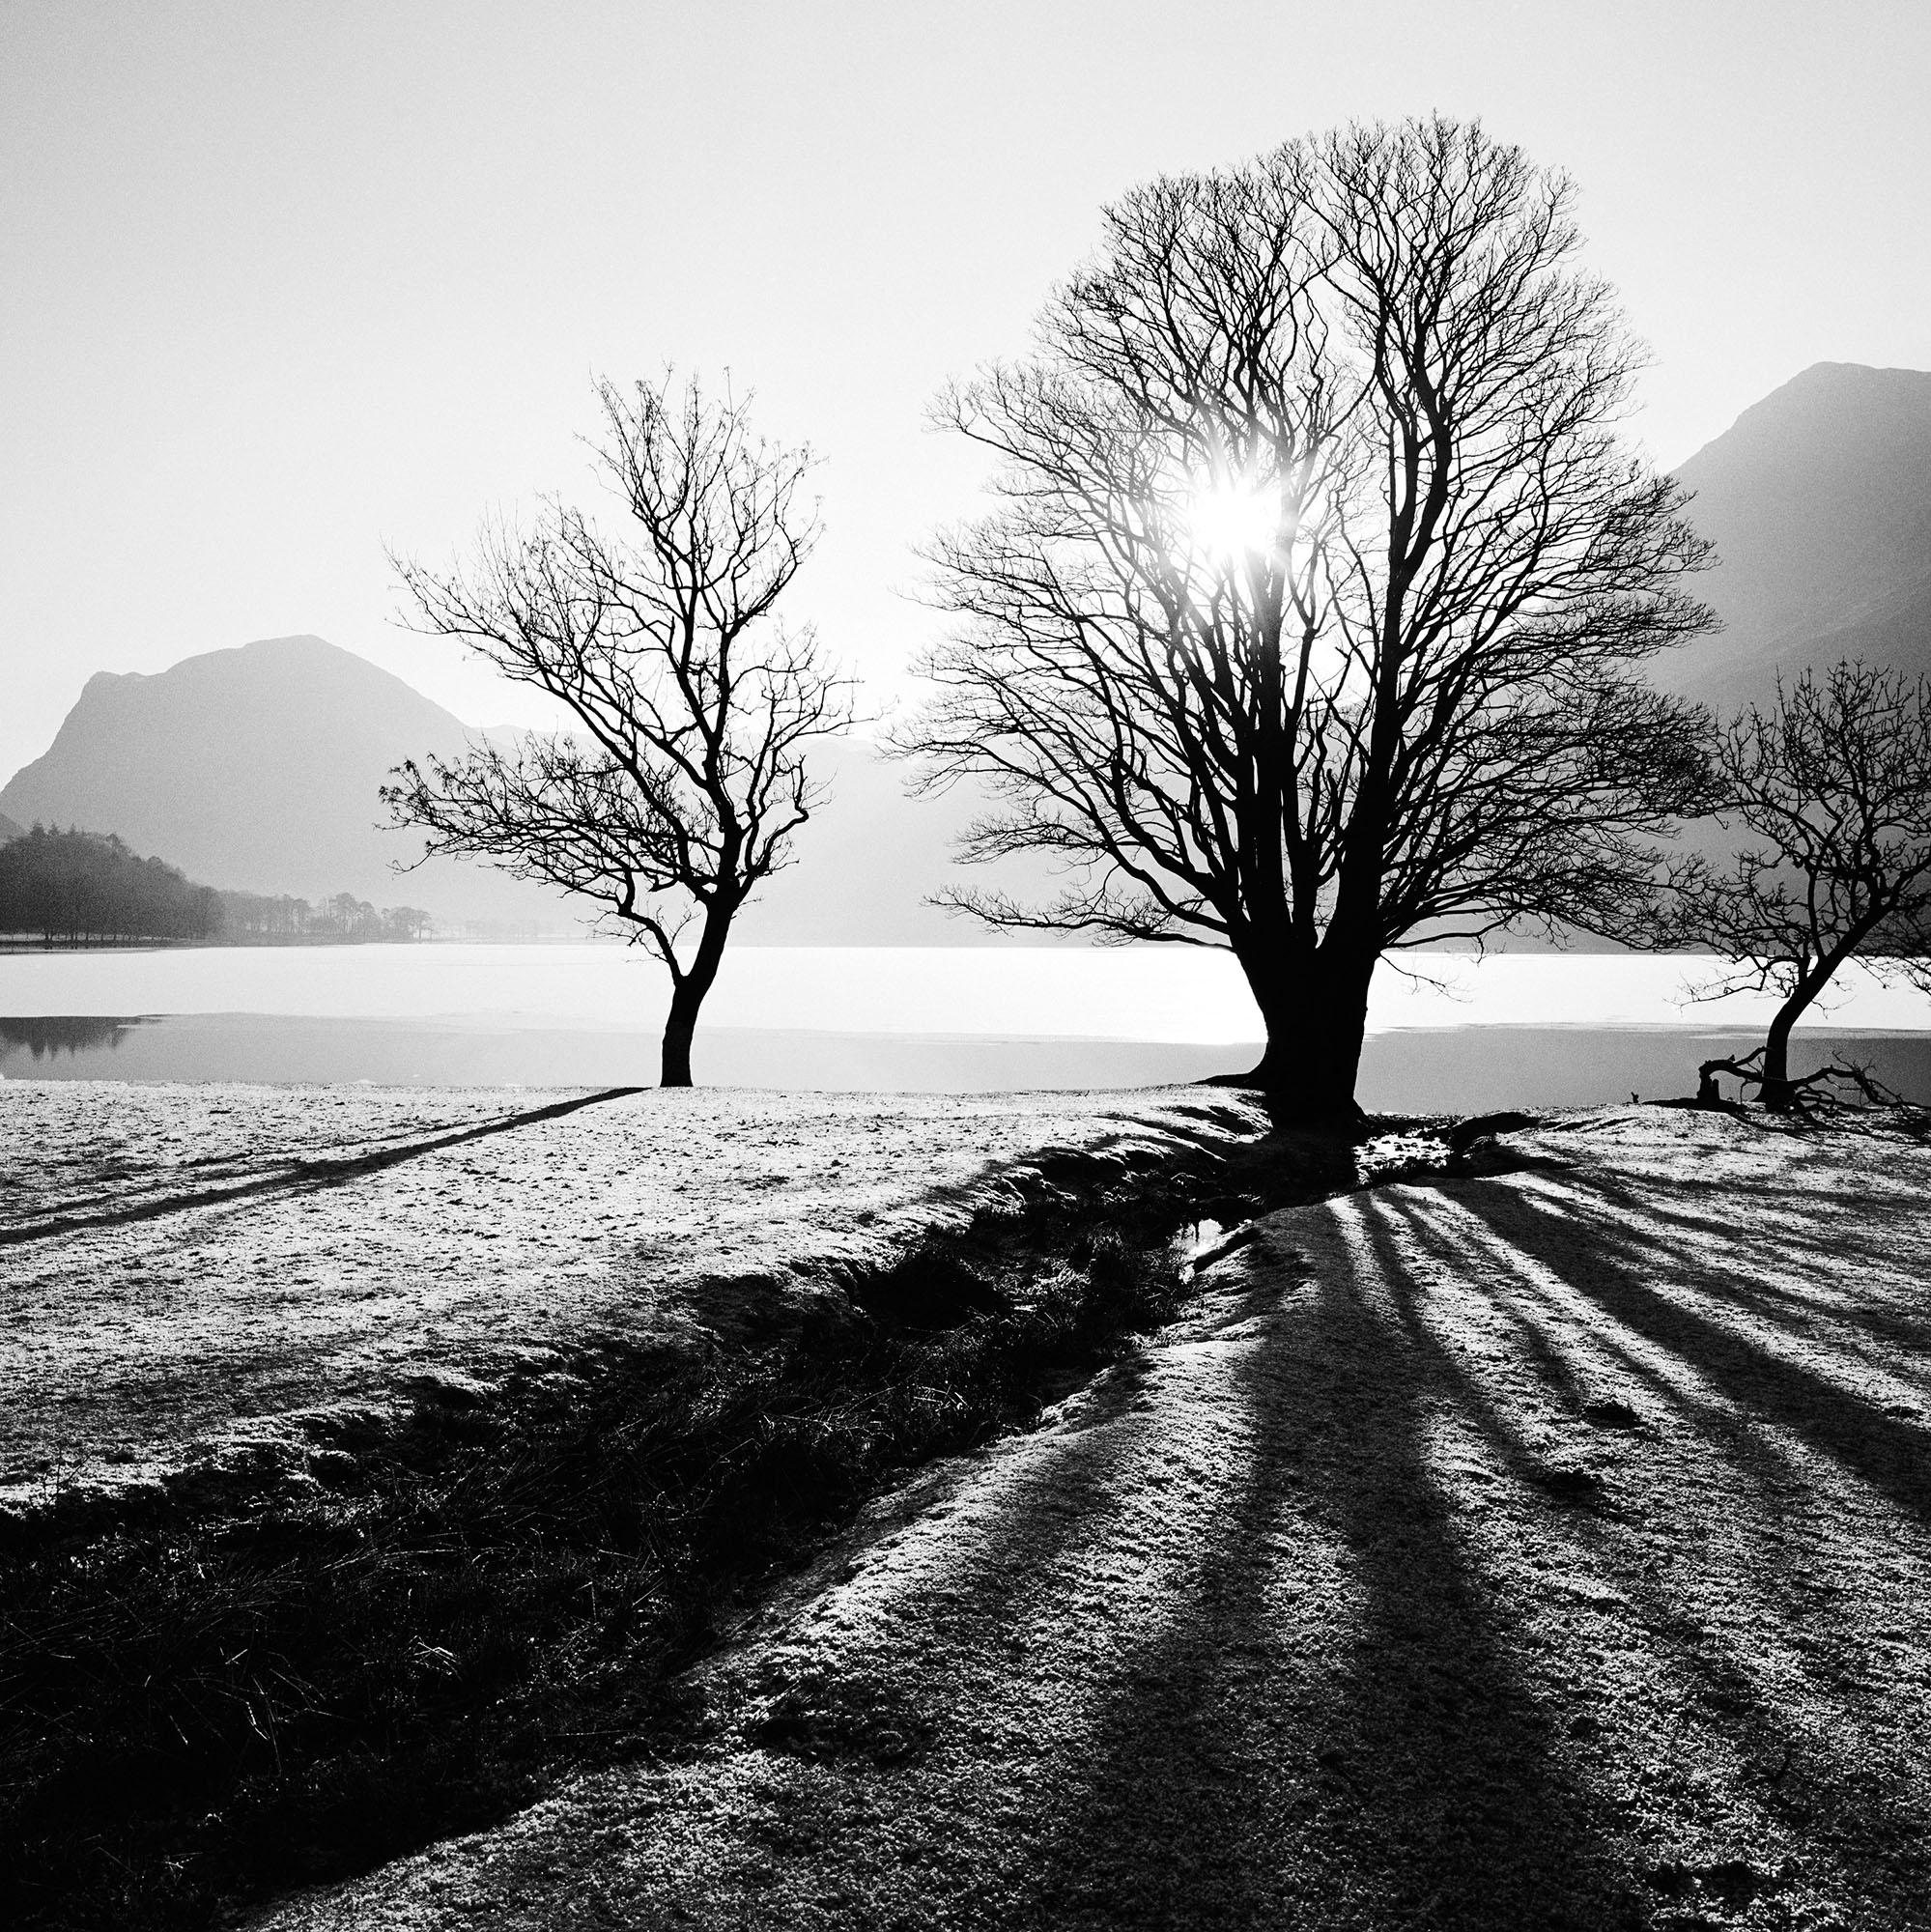
Winter sun, Buttermere © Dave Butcher
It needs a bit of playing around to see what the variations can do for any image.
I often make the foreground more contrasty by dodging the low contrast exposure for this area. I don’t want viewers of my images to just look straight beyond the foreground to the main centre of interest. The picture sits on the foreground, and increasing the contrast here gives it a prominent position in the final print.
Now the basics are in place further exposures can be added to enhance or emphasise smaller areas in the print.
This document was reproduced here with kind permission from http://www.darkroomdave.com/tutorial/split-grade-printing/
All black and white images ©Dave Butcher
About The Author
Dave Butcher
Darkroom Dave is my alter-ego. Iu2019m really the photographeru00a0Dave Butcher.
nSince 1988 I have lived in the Derbyshire Peak District village of Tunstead Milton, near Whaley Bridge and have been married to Janice since 1976 althoughu00a0I was born and brought up in Welwyn, Hertfordshire (25 miles north of London).
nPlayed football in local leagues, until 1984, for the Frythe (Unilever), Colworth House (Unilever), Steeple Claydon near Buckingham, Biggleswade Town, Churchill College Cambridge, St Andrews (Cambridge), Toft Red Lion (near Cambridge), University of Cambridge Chemical Labs and Ilford Ltd.
nI trained and worked as a chemist, with a PhD from the University of Cambridge, until 2005 when I decided to turn my love of black and white photography into a full-time career. Working foru00a0ILFORD PHOTO for 21 years, including running the photographic printing department for many years, helped this quite a bit. I still keep close ties with them after they made me one of only six Ilford Master Darkroom Printers in the country. In fact all the materials used in our courses and workshops are from them. u00a0A lot of my work has been used on their packaging and marketing material.
nI develop and print my own work using Ilford Multigrade fibre based papers, sell framed prints from my studio in the UKu2019s Peak District as well as at fairs and exhibitions and sell unframed prints, courses and books through my websiteu00a0www.davebutcher.co.uk. As well as running photography and darkroom courses I have a busy schedule of lectures and exhibitions up and down the country.
n