


Making a Photobook from darkroom prints Posted On 27th April 2021 To Magazine & Printing

The idea came to me after searching for companies to have a photobook made. I wanted something of the highest quality. Something that had the physical feel of Photographs: Annie Leibovtiz 1970-1990, or Helmut Newton Portraits. Two beautifully printed books that happened to be sitting in the community darkroom I own. After searching the internet for hours and looking at reviews and products of various companies, I was no further along to making a selection than when I started. My mind wandered as I stared at the computer. What if I made my own damn book? The internet search changed to bookbinding, and what I created was something entirely different than originally planned. I made a book from scratch using original darkroom prints.
An Ambitious Project
To begin with I know nothing of the process of bookmaking. Even though I’m a voracious reader, I never gave much thought to the physical properties of books. I examined all the books on my shelf; the paperbacks, the cloth hardcovers, the leather bound books. I looked at every detail, felt the different types of papers, and scrutinized the spines. Then I picked up a few FB and RC prints lying around and folded them in half and put them inside each other, felt the weight, and turned them as if they were pages. The idea for the project solidified; I would make a leather bound hardcover book, stitched and glued together with darkroom prints on Ilford FB Classic Matt paper.
It was an ambitious project for my artistic temperament. I am not a meticulous or methodical person when it comes to developing film or printing, I’m the most haphazard slam-bam it out guy I know. This project would require planning, patience, and commitment. True to form I ignored all the necessary requirements and started printing immediately at Hawaii Darkroom.
Folios?
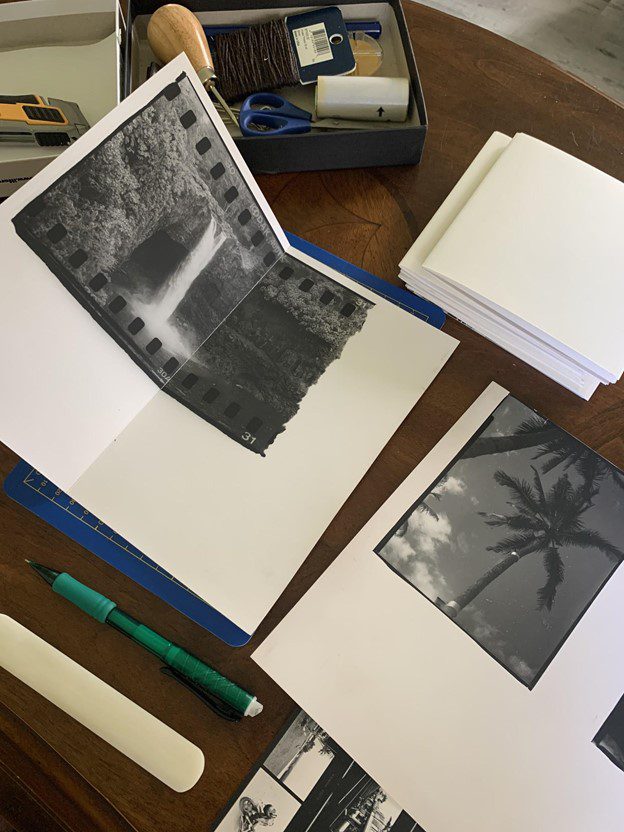
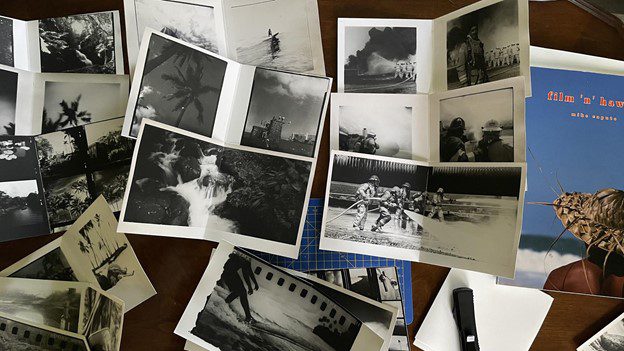
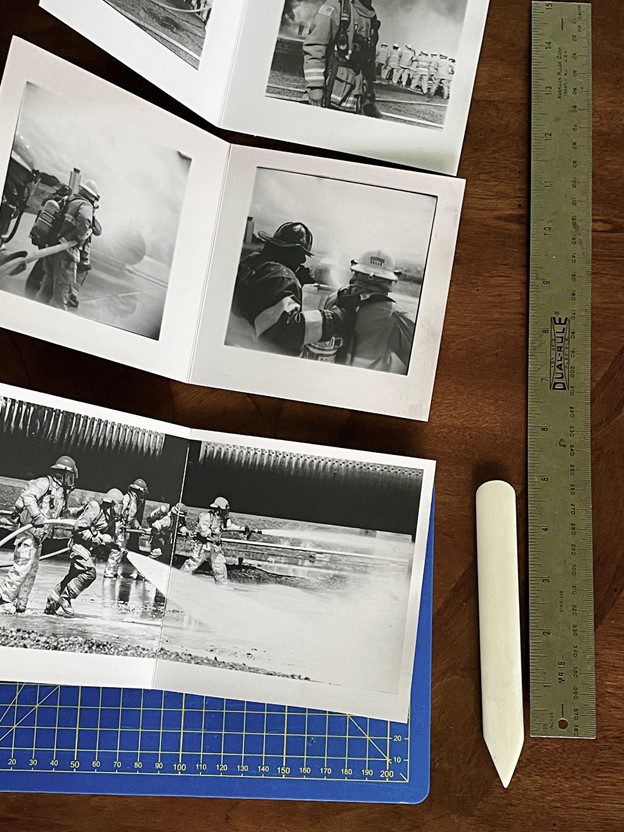
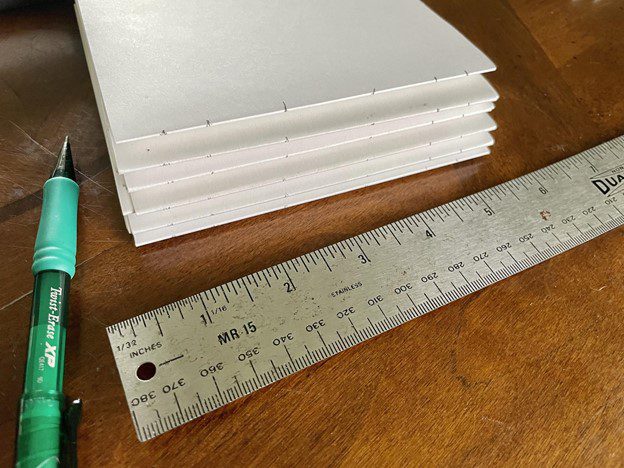
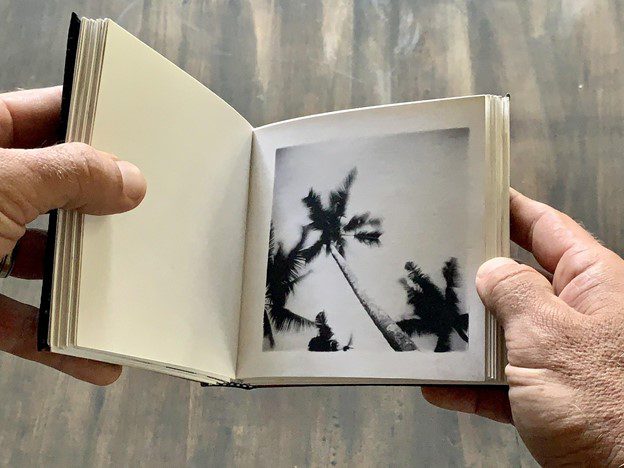
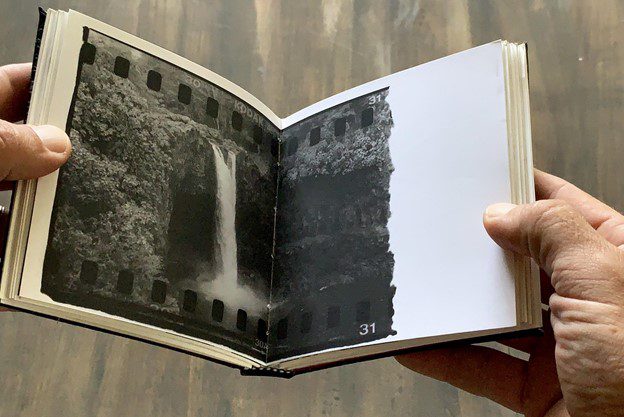
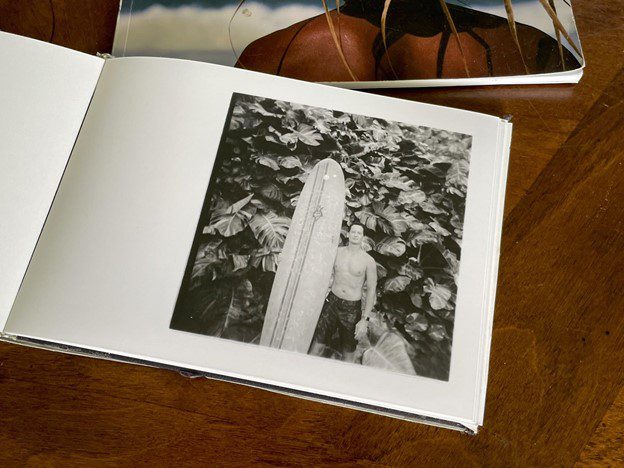
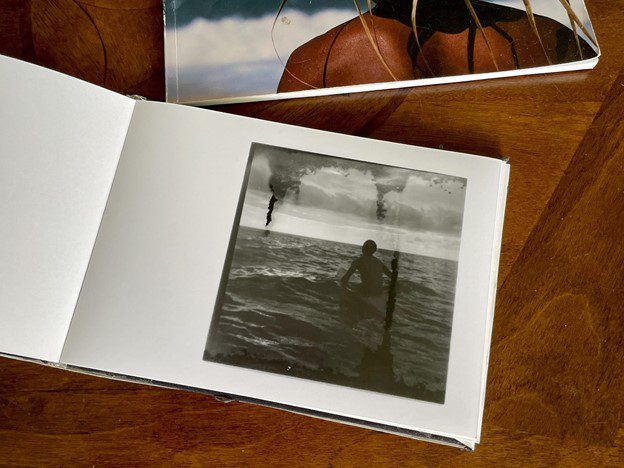
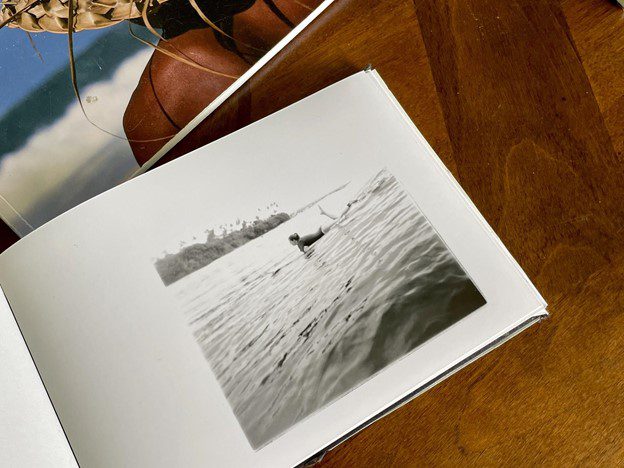
There was one printing format I would adhere to, I would print on both ends of the 8x10 paper, and make one centerfold per folio. In case you are as unfamiliar with the term folio as I was when I started I’ll explain; it's a sheet of paper folded once to form two leaves (four pages) of a book. My idea was to have three sheets of paper for each folio, the first two would have one print on each side of the paper, and the third sheet would be a centerfold spread on both pages. In the end I wound up making seven, three sheet folios. There were five prints per folio for a total of thirty five photos.
The challenging part
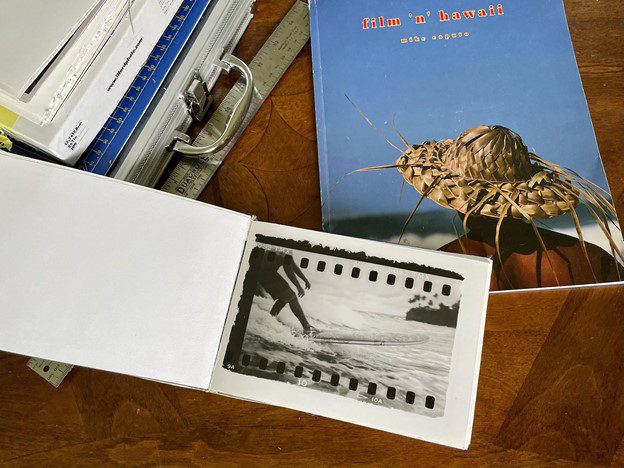
The most challenging part of the entire project wasn’t stitching together the pages or crafting the leather hardcover, it was printing on both ends of the paper---I’d call it a ten sheet learning curve. This was the first time I tried multiple prints on the same page and I easily burned through a few sheets for each acceptable end result. Of course, I made things more difficult by not sticking to one film format. I used 35mm, 6x6, 6x7, and 4x5 contact prints along with 35mm negatives shot in a 120 camera that required me to make a special film holder. Some negatives that I used were under or overexposed and unsimilar in density.
I guess I enjoy doing things the hard way.
The right kind of music
Now, think of everything you go through to make a single print, then imagine changing out the negative and doing it all over again (after you have already switched it out to do a test strip for both). And doing it on the other end of the paper without any mistakes; aligning it the wrong way, forgetting to focus, not changing the filter, the wrong time...countless little things that can make the print unusable.
The errors were mounting up and irritation was setting in but I’m a stubborn son-of-a-gun. When I start a job I finish it. Fortunately I was fueled by Jameson and Led Zeppelin in my darkroom and started to care less about perfection than completion. I began again with How Many More Times and a fresh outlook. By the end of the first darkroom session I completed the first folio. Three hours for five little images! Zep I-IV.
Bookmaking
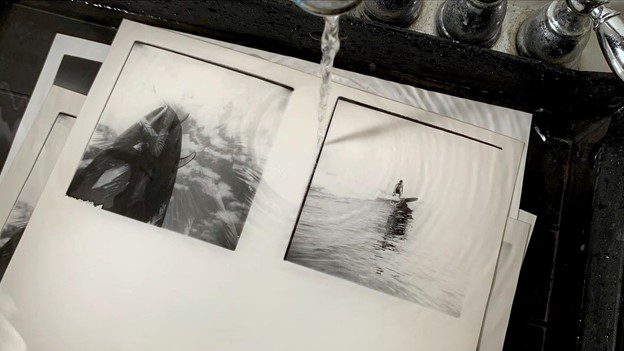
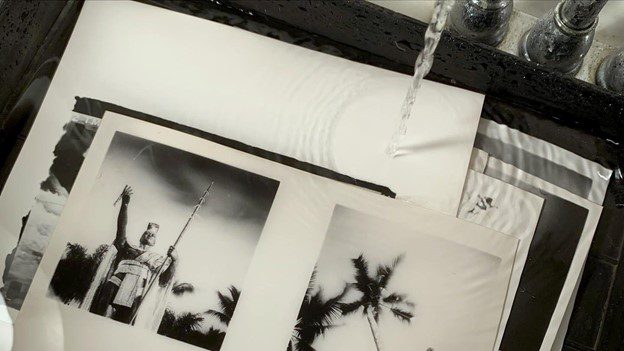
The next day I organized my negatives somewhat. I created a theme for each folio. One would be landscape images, another would be photos from the water, etc. I poured the chemicals and turned on the red light and started printing again and completed three more folios. The third darkroom session I printed the last set.
After all the prints were completely dry I put them under some heavy books to flatten the FB paper. This was when I started shopping for specific bookmaking supplies that I couldn’t substitute with things lying around the house.
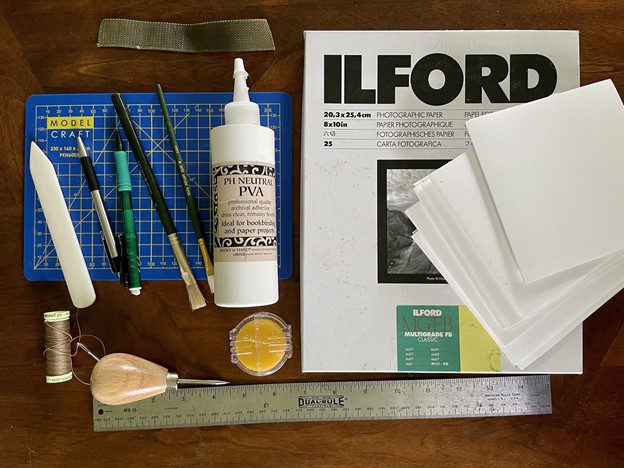
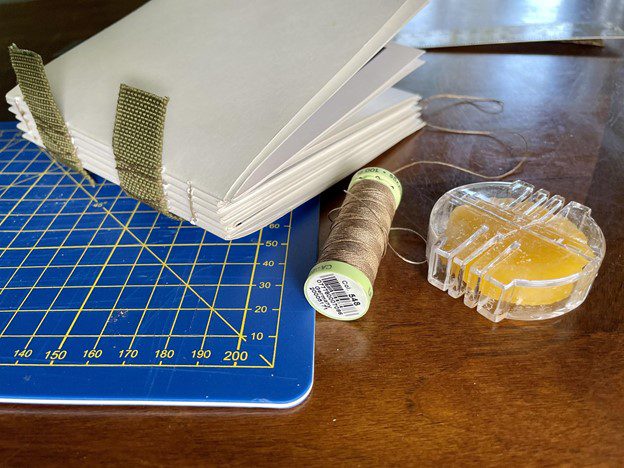
Bone folder, awl, pen and pencil, paint brush, PVA glue, thread and wax, metal ruler
Uncharacteristic caution
I decided to get a stack of cardstock and practice making a book. I didn’t want to destroy all the printing I had done on the first attempt. It looked simple enough but I felt the need to be uncharacteristically cautious at this point. I’m glad I was, bookmaking is an art of its own. After completing the practice book (which came out decent) I forged ahead with my book of prints.
There was a particular YouTube series I watched to help me along with the process. It was visually informative and beautifully shot. Not a single word spoken the entire five part series which made watching it an enjoyable experience on its own. The man is a master at his craft. I’ll share it here. https://youtu.be/8RfR_mgwNLs
After laying out the various supplies I threaded the needle and got to work. I thought Miles Davis Kind of Blue sounded like a good choice for an album with a few Boddingtons for a thirst quencher. It’s important to have the correct music and beverage for everything. Freddie Freeloader you know. The stitching and gluing took a few hours. As I moved on from Glenn Miller, to Lewis Jordan, to the Blues Brothers soundtrack, the beer cans were empty and it was time to clean up for the night.
-
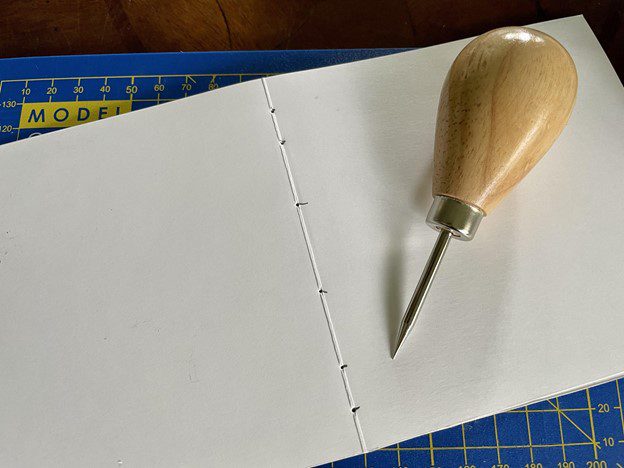
- Marking where to puncture holes with the awl
-
- Making holes in each folio
-
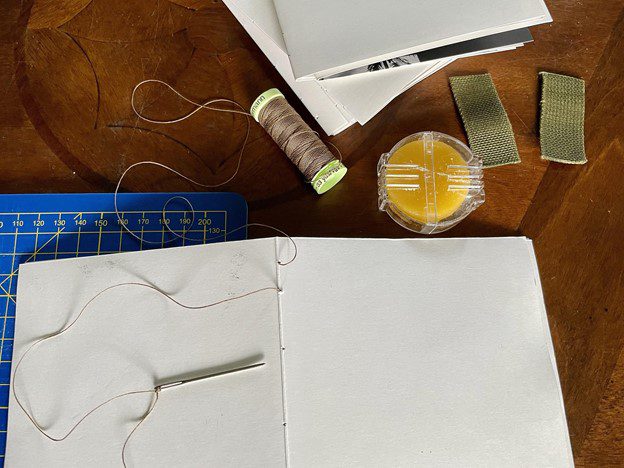
- Beginning stitching with waxed thread
-
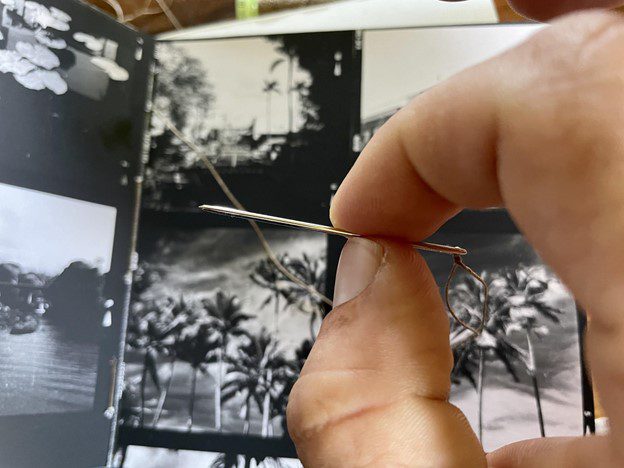
- Working a dull needle through the folios
-
- Completed stitching
-
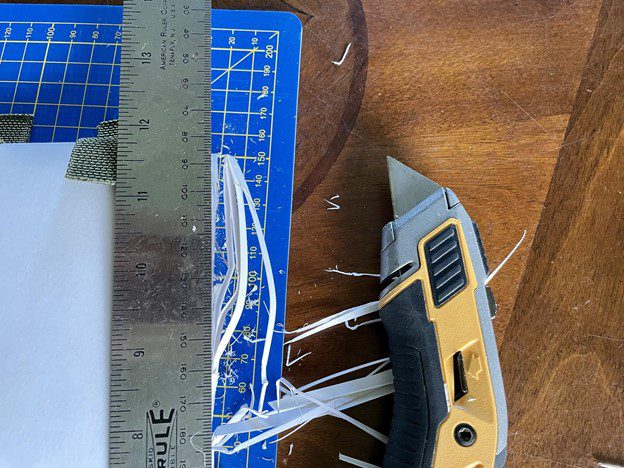
- Trimming the pages
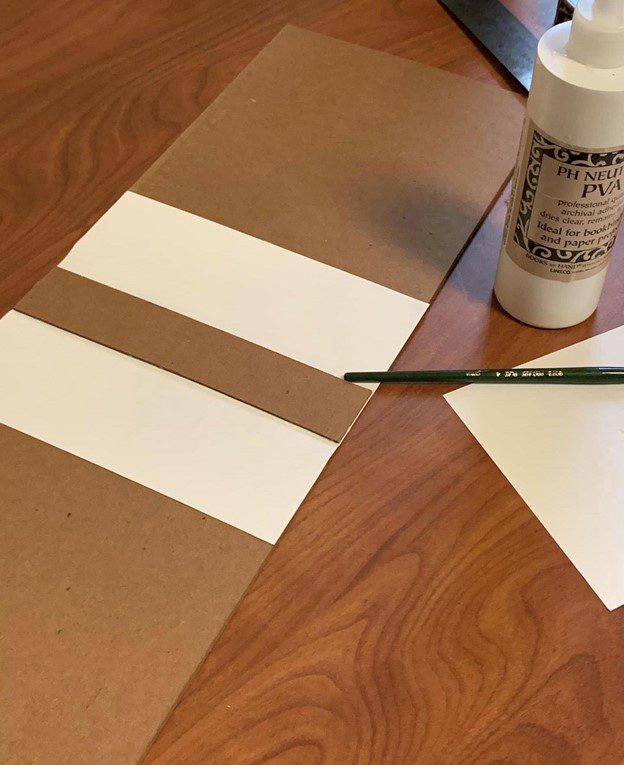
Upcycling
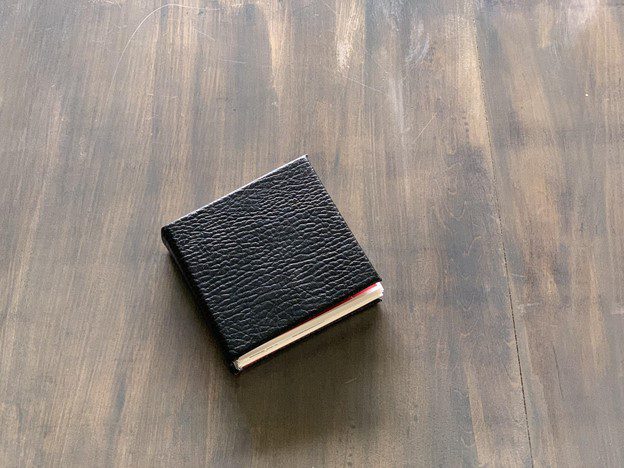
The next day I made the cover. I went to a thrift store and bought an old leather purse for a dollar. How’s that Johnny Patience the book I made for you is a purse! Carry that to the mall, brother. Anyway, I cut the leather to the appropriate size and began assembling it. This process also took a few hours with the cutting, measuring, and gluing. Unfortunately I did not take any photos of that process except one. As the glue was drying I put the book under a large stack of heavy books to press it for the night.
The End Result
A 5x5 handmade book of original darkroom prints on Ilford FB Classic Matt paper! How satisfying this entire project was. From selecting the negatives, to thinking through the obstacles of printing, to the soothing rhythm of stitching it all together. I truly enjoyed every aspect of the creative process. I hope the person who has it enjoys the final product as much as I did making it. Because the next one I’m going to keep.

A note on product selection
I use ILFORD and Kodak products. I shoot Kodak 400TX and ILFORD HP5 most frequently. This book has ILFORD HP5 and ILFORD SFX film, Kodak 400TX, some images pushed to 3200, TMAX400, and expired Panatomic-X. For film development I always use stock Kodak D76, a White Vinegar for Stop, and Kodak Fixer. For paper I use Dektol, Stop, and ILFORD Rapid Fixer. This chemical combination works well for me. My paper selection was ILFORD FB Classic Matt. My favorite paper. I also really enjoy printing on ART300, and sometimes when I’m feeling like a *quickie I use ILFORD RC Pearl.
And as the Emperor in Amadeus would say, “Well...there it is!”
*Quickie
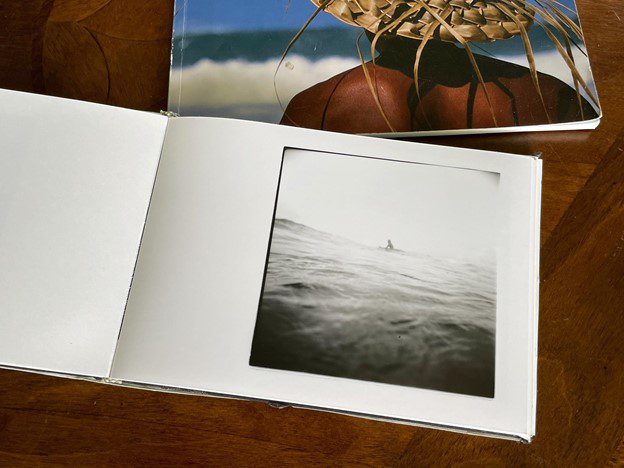
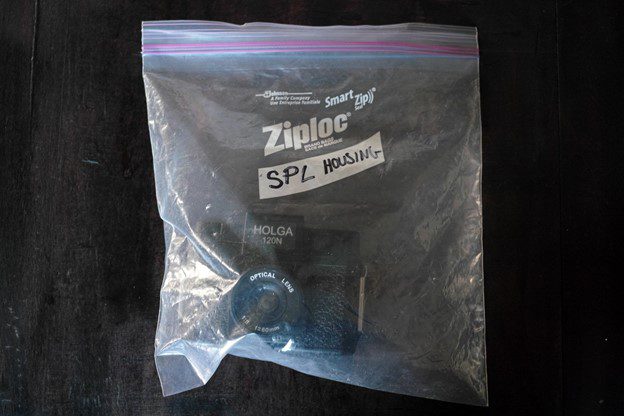
A simpler idea I had was for bookmaking using ILFORD RC paper. Instead of folding and stitching, I would try my hand at Perfect Binding. A much simpler form of bookbinding. No thread, needle, cutting or folding required. A simple cloth cover. I used 5x7 ILFORD RC Pearl for the book with some Holga photos. (The Holga comes in the water with me, surfing, in a fancy water-housing I built).
-
- Test book of RC prints
-
- 35mm in the Holga
-
- A little saltwater found its way into the camera
-
- Waterproof
-
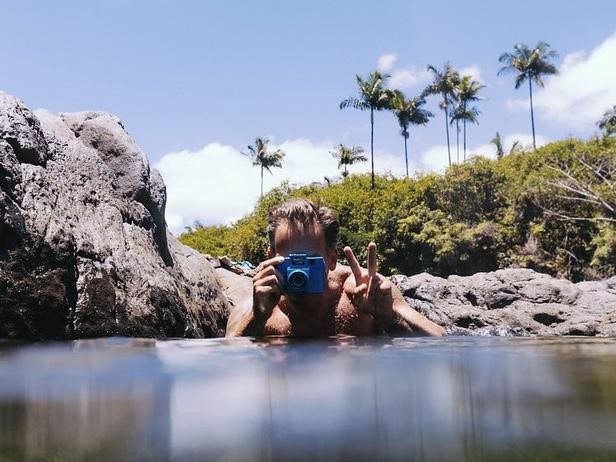
- Mike Caputo making a photobook with darkroom prints
I suppose I could go into detail on how to make a simple perfect bound book of prints, but that kind of defeats the whole purpose of a quickie and the ol’ In-and-out.
About The Author
Mike Caputo
Mike is a United States Air Force Veteran, and a former U.S. Merchant Marine where he worked in the shipping industry sailing around the world. He is currently a Firefighter in Hilo, Hawaii. He owns The Hawaii Darkroom; a membership driven community darkroom on the Big Island.
nYou can hear him laughing a mile away https://youtu.be/OZz6xz8oErk
nSay howdy here:
nhttps://www.instagram.com/aloha_bigmike/
nhttps://www.flickr.com/photos/aloha_bigmike/
nn
n