


Back to School Posted On 28th July 2021 To Student & Lecturer Hub

Get ahead of the class
Here you'll find links to lots of helpful information that will help you get a head start in your film photography studies. We've collated links to blogs, product pages and shared some educational videos from our YouTube channel too.
So, you've got your film camera and now you need some film. Many schools, colleges and universities will lend out cameras to their students and these generally take 35mm film but, there are other options available and the type of camera that you have will determine which film format you need.
Choosing your first film
Most of our films split into 2 distinct categories, our PLUS range and our DELTA Professional Films. You can find learn about the differences between these film ranges in our learning zone.
We know that many lecturers and technicians will already have a preference for which film you should buy. This is often our ILFORD HP5+ a it is very flexible and forgiving which makes it a great film to start with. You can find out more about all of our films in our product pages but for now, here's a rundown of the most popular choices for students.
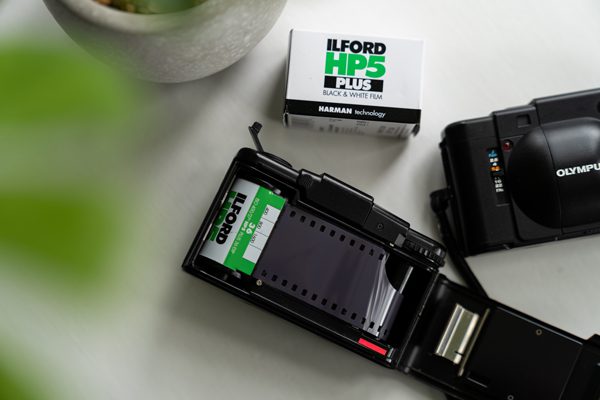
Available in 24 or 36 exposure rolls as well as medium format, bulk lengths and sheets. This is our most versatile and popular film. Find images shot on HP5 using #ilfordhp5
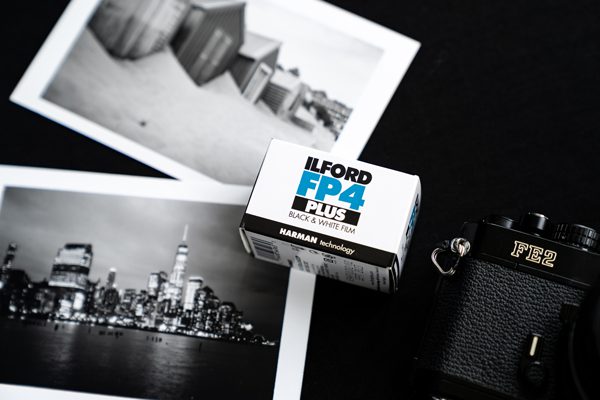
This is an all purpose film with fine grain, medium contrast and outstanding sharpness. Ideal for most shooting scenarios in good light conditions. Find images shot on FP4 using #ilfordfp4
Available in either 100 or 400 speed and a choice of 24 or 36 exposure rolls. These films are an ideal choice for beginners as they are typically a bit cheaper than ILFORD films. Find images shot on Kentmere films using #kpan100 #kpan400
What is film speed?
Film speed or ISO is the speed rating of film. The lower the ISO number, the less sensitive the film is to light. In other words, a slower speed film will need brighter conditions or a longer period of time with the shutter open to accurately expose an image.
Developing your first film
You've loaded your camera, figured out the aperture and shutter speed (or maybe stuck to automatic mode for your first film) and have finished the roll. What now?
 Developing your first roll of film can seem like a daunting prospect but it's far easier than many people expect and, with a bit of practice you'll soon be doing it with your eyes closed. (In fact, we recommend practicing loading film onto the developing spiral with your eyes closed and a old roll of film first). There's more tips for loading your film onto the spiral in this short blog in our learning zone.
This simple video will take you through step by step instructions and teach you all you need to know to start processing your own black & white films.
N.b. For chemicals a great option is our ILFORD Simplicity Starter Kit which contains pre-measured developer, stop bath and fixer. If you are planning to develop a few films then have a read of this page for more information on choosing chemistry.
Getting technical
You can download our film developing chart to find the recommended developing times with our chemicals and you can also find lots of other helpful information in our technical downloads for film section.
Darkroom printing
The magic of making your first darkroom print is something that stays with you forever. There is so much to learn in the darkroom and you can re-visit the same negative many times, making improvements or, changes to how you choose to print it. Getting started is simple.
First, you need to choose which darkroom paper you will use. There is a fantastic range of options from different bases to different tones and finishes. We'd suggest starting with MULTIGRADE RC paper. (You can find more about the range in this post from our learning zone).
Now onto the fun part!
Printing your negatives is rewarding and fun but before you start you need to know the basics on darkroom safety and how your enlarger works.
Now that's out of the way you can print your chosen negative. If you're not sure which negative you want to print then why not make a contact sheet first. A simple technique that will enable you see all of your negatives in one place and choose which one you want to enlarge.
After that, it's time to make your first black and white darkroom print.
Getting technical
Want to learn more about our papers, contrast control or reducing wash water? Then check out our technical downloads for paper.
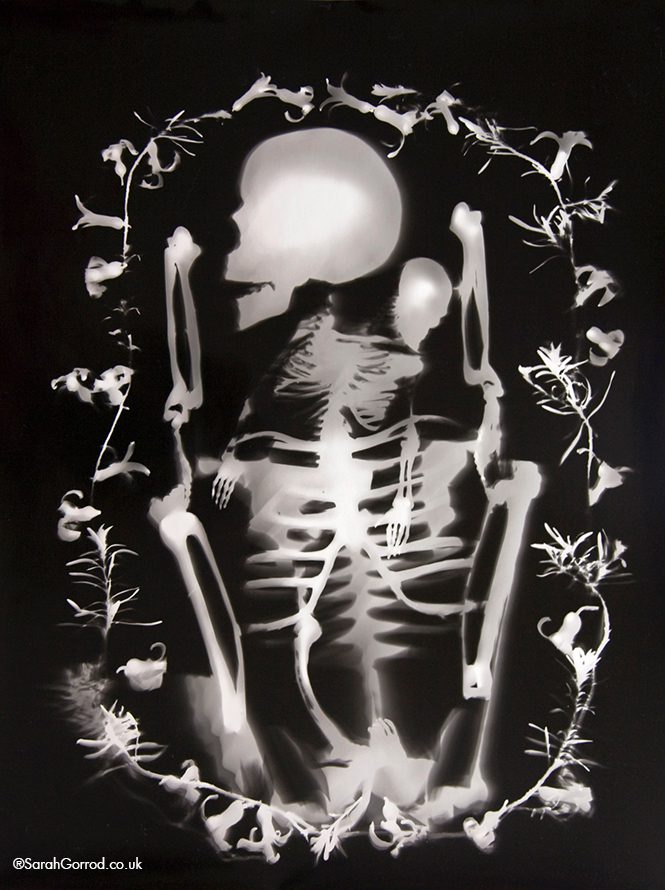
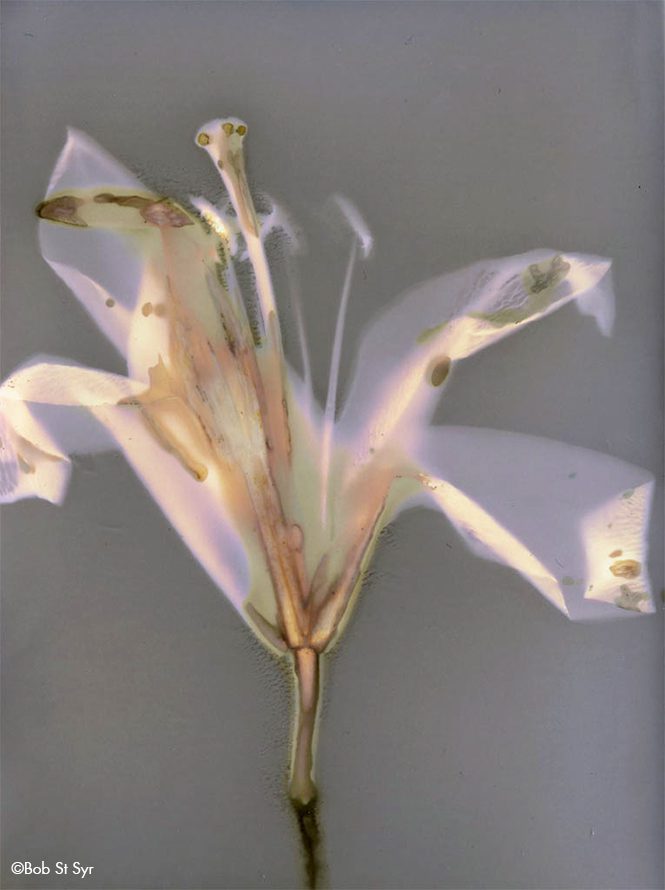
Prints without negatives
You can even use photographic paper without a negative to create beautiful lumen prints or photograms like the ones below.
Need inspiration?
We've got your covered! Check out our ILFORD Inspires page where you'll find loads of great videos from inspirational film photographers and darkroom printers like the one below.
If that isn't enough then our online Magazine and Learning Zone are packed full of stories and posts designed to educate and inspire.
Competition
Now that you can shoot film and print your images in the darkroom so why not check out our latest student competition and send us an entry.