


Common Processing Problems Posted On 26th July 2019 To Learning Zone, Beginner Series & Film

Below are some of the common errors that can occur when processing black and white films. Unfortunately some of these errors can result in the images being lost or partially ruined. By knowing what has caused the errors, you may hopefully prevent any repeat incidents.
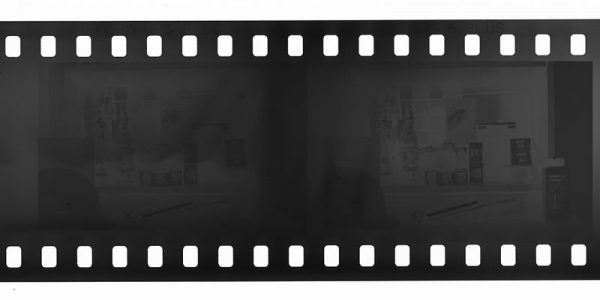
Film entirely blank - No visible images or edge signing
A completely blank film with no images and no signing (i.e text in the perforation areas showing product and numbers) - indicates the film has received no development at all.
Blank negative - no signing.
This type of error usually means a film was initially processed in water or fixer instead of developer.
To help avoid repeat errors, ensure careful preparation is taken in mixing up chemistry. You must also take care with the order in which each of the separate chemistry solutions are positioned, so there is no possibility of confusion in total darkness, when ready to process.
Edge signing is visible but no images show on film
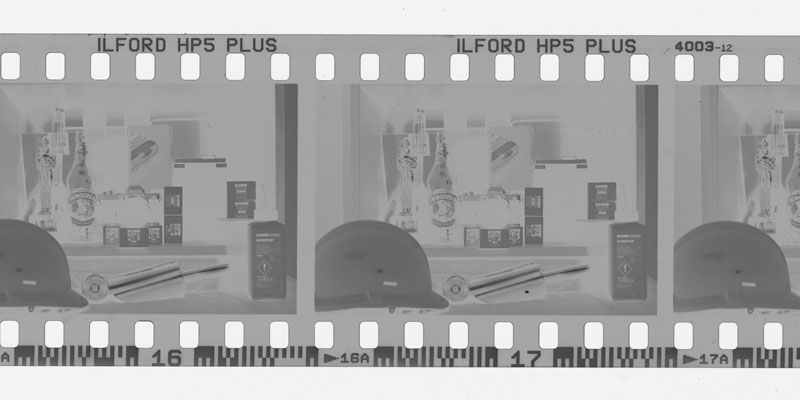
A film that shows no images, but still shows edge signing (i.e text in the perforation areas showing product and numbers) - indicates the film has not been loaded correctly in the camera, and has not advanced to enable any frames to be exposed.
Blank negative - signing visible
To help avoid repeat errors, take extra care when initially loading the film. If the camera has one, check that the camera rewind lever is turning as the film advances.
Film is black, fogged or partially fogged
A film that is either fully black, or has partial black marks indicates that the film has been fogged. (Exposed to light). Fogging could arise in the following stages:
- Loading a film into a camera
- When loading a film into a processing tank
- Using a bulk length loader
- If films are left out in bright light prior and post exposure (i.e if roll films are not sealed tightly and left in bright light).
To help avoid repeat errors:
- Ensure films are not stored in bright light.
- Make sure all areas where films are loaded into processing tanks, are in total darkness.
- If using roll film, seal the film tightly after exposure.
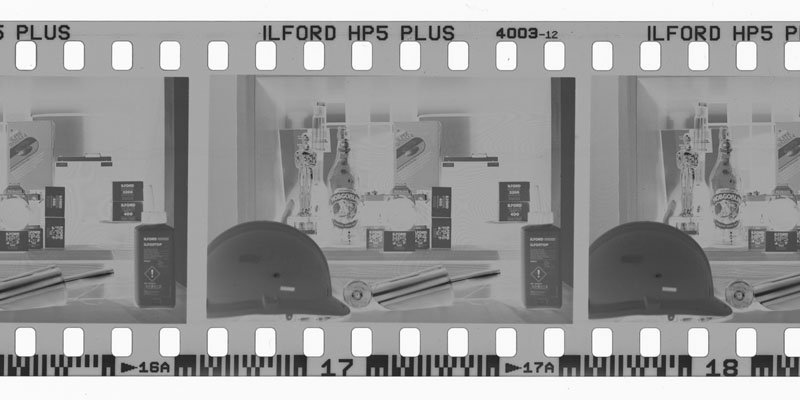
Processed negatives are too dark
Processed exposed negatives that are denser than expected could be caused by too much exposure whilst in the camera. Possible caused a faulty meter or incorrect readings.
It could also be caused by the following development errors:
- Development time is too long
- The developer is too warm
- The developer is made to a high concentration
- Too much agitation has been given
-
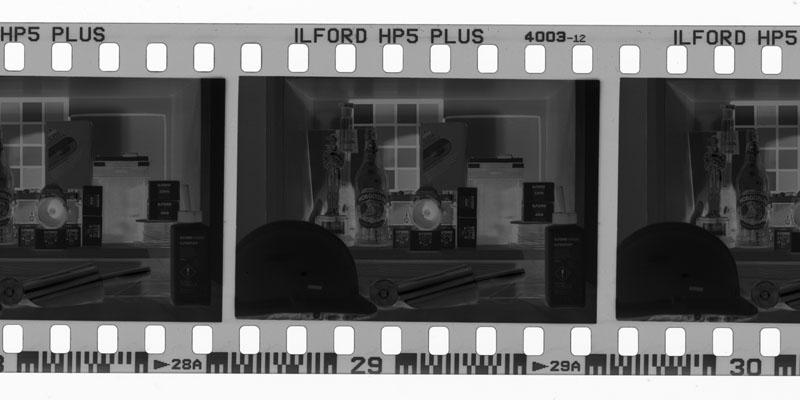
- Over-exposed negative.
-
- Over-developed negative.
To help avoid repeat errors, check that the camera or hand held meters are not faulty. And make sure you read all instructions carefully when mixing up chemistry. Always check processing methods, times and agitation techniques. these are all available on the relevant technical data sheets on our website.
Processed negatives are too light
Processed exposed negatives that are lighter than expected or too light to make acceptable prints could be caused by too little exposure in the camera. Possibly caused by a faulty meter or incorrect readings.
The following development errors can also cause this:
- The films hasn't been developed for long enough
- The developer is too cold
- The developer is over diluted.
- Not enough agitation has been given
-
- Under-exposed negative.
-
- Under-developed negative.
To help avoid repeat errors, check the camera or hand held meters are not faulty. Also make sure you read all instructions carefully when mixing up chemistry. Always check processing methods, times and agitation techniques. These are all available on the relevant technical data sheets on our website.
Crescent shaped marks
Moon shaped or short straight marks randomly appearing in a processed film, are caused by the film being creased or kinked when it is being handled.
This can occur when loading film onto a spiral for tank processing. This typically happens if a film has been cross-threaded and doesn’t load smoothly into the spiral grooves.
Such marks on the negatives will likely show when printed.
-
- Crescent (left) and clear patches on negative.
-
- Handling kink on negative.
To help avoid these marks, take care to slowly load films onto the spiral reels and try not to force the film.
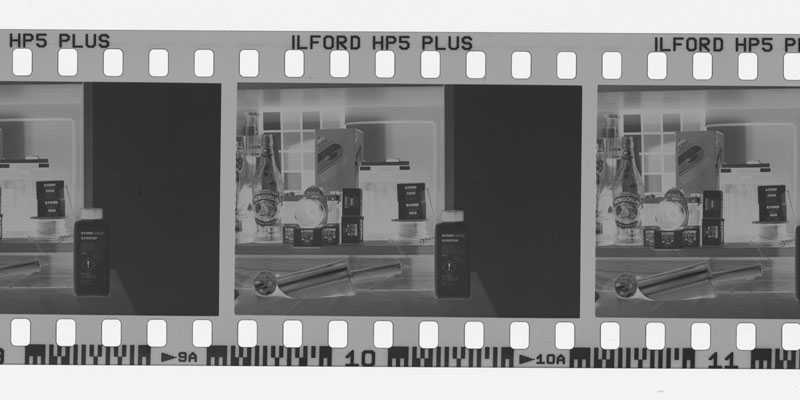
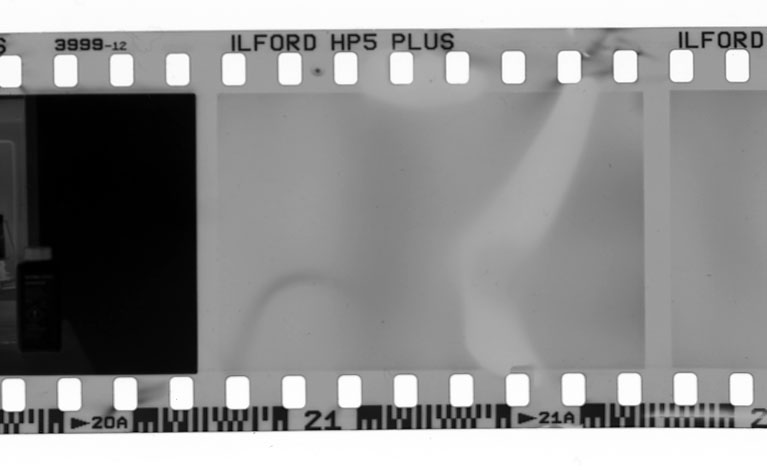
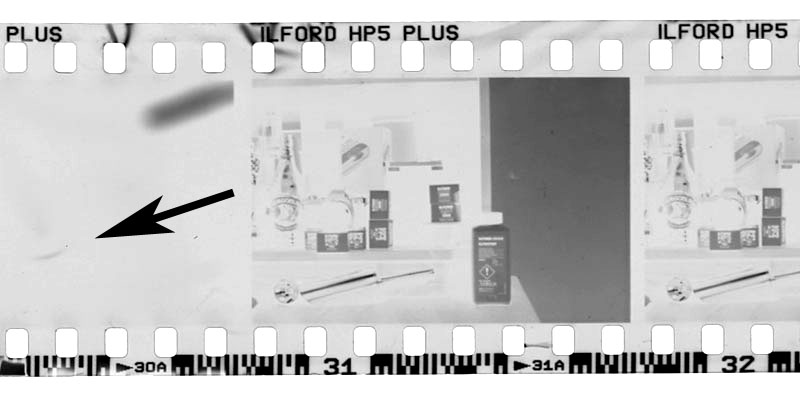
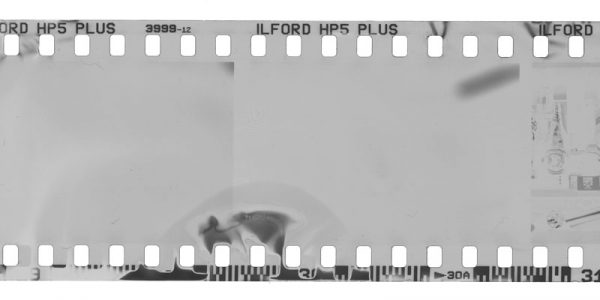
Clear Patches
Clear or stained areas in processed images are usually the result of a film that has been in contact with itself whilst being processed on a spiral.
When the negative is in contact with itself, the area is not getting enough chemistry flow and the development is inhibited. This leads to lighter or even totally clear areas on the negative.
Contact on negative while processing.
To help avoid such marks, ensure the film is correctly loaded onto the spiral processing reel.
Lighter band along the film edge
A lighter band showing on images on the edge of a processed film indicates insufficient chemistry was in the tank. The area that has been fully submerged in the chemistry will be correctly developed. However, where the volume of developer is too low, this area/strip of the negative will not have received adequate development and will result in a lighter part of the images.
Light band on negative.
To help avoid such marks, always ensure the developing tank has been filled with enough chemistry to cover the entire film. The amount required is usually indicated by the tank manufacturer.
Cloudy or Milky looking film
If a film has a milky or cloudy appearance after it has been fixed, it indicates a film has not been fixed sufficiently. This could be the result of:
- An insufficient level of fixer
- Using fixer that is old or exhausted
- Fixer that has been over diluted
Some film products require a longer fixing time to others, but typically our ILFORD and Kentmere films will be fully fixed within 2-5 minutes.
If a film is still milky/cloudy – return the film into fixer and check again until its fully cleared. If it does not clear it is likely that the fixer is not effective and needs replacing.
-
- Correctly fixed negative.
-
- Poorly fixed negative.
To help avoid this error:
- Always use fresh fixer
- Ensure there is enough fixer to cover the film
- Always check fixation times needed
- Check the progress of a films appearance when fixing it before moving on to the wash stage
Surface drying marks
Irregular shaped dull marks or roundish spots on the surface of your film are likely to be drying marks. Caused by droplets of water forming in the film surface during the drying stage these marks are typically seen on the film backing (shiny side). Films washed in hard water areas are more likely to see this problem.
To help prevent drying marks:
- Use a wetting agent such as our Ilfotol Wetting Agent.
- Squeegee the film after washing
- Gently wipe the film with a damp chamois leather cloth